Job path
Solar mounts
Solar mount fabrication means repeatable parts, steady welds and flat assemblies for PV rails, feet and plates. Get the right bays and gear to cut time and rework in your workshop.
What solar mount fabrication involves
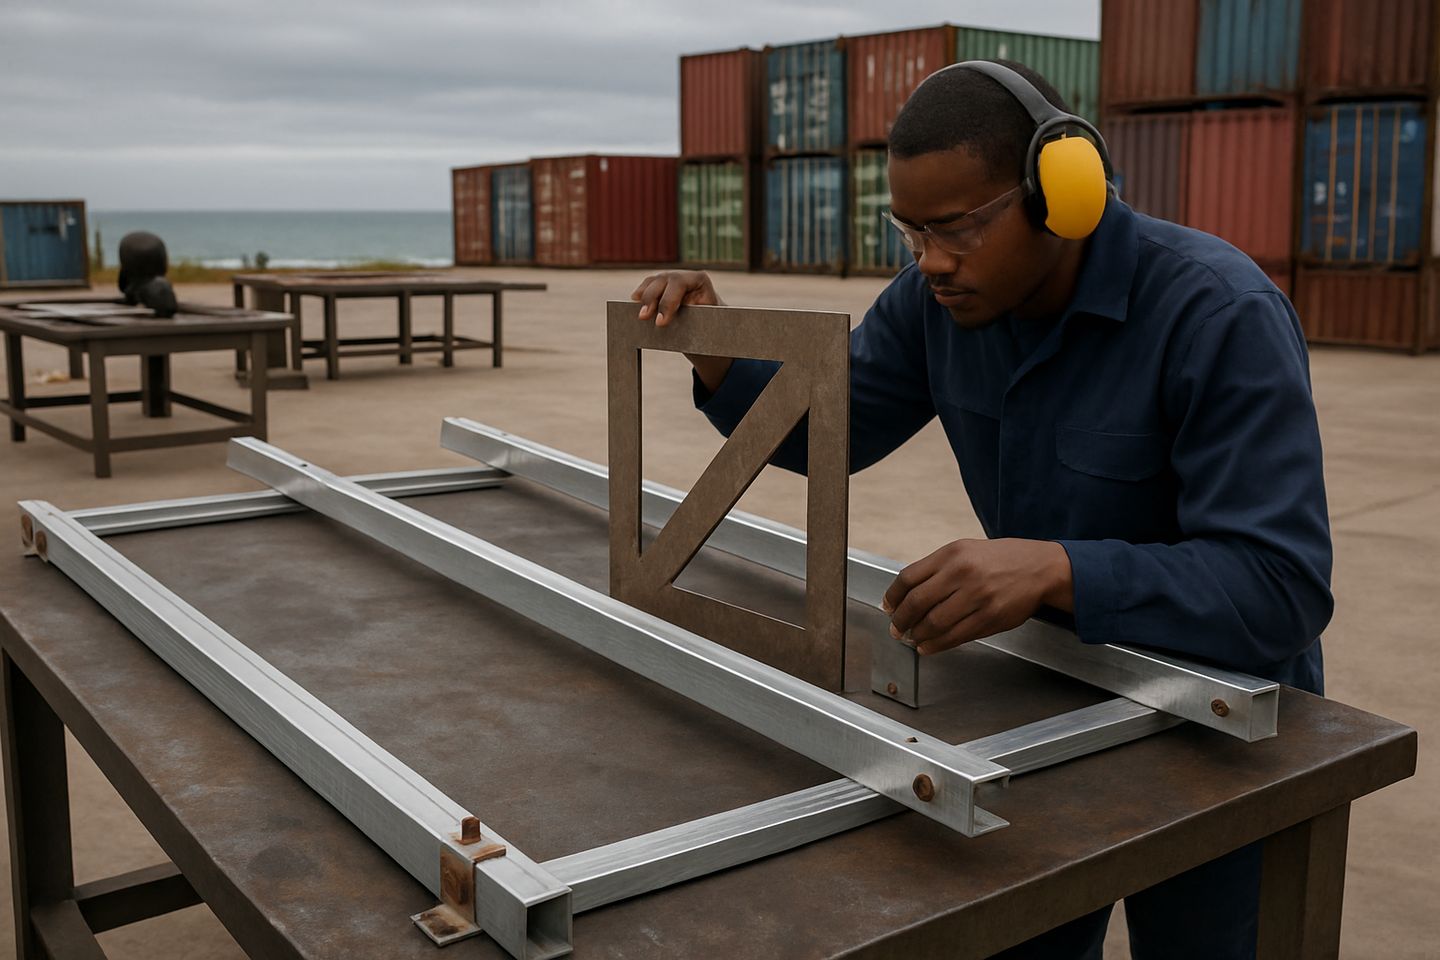
Solar mount work in South Africa covers cutting, drilling and welding parts for PV panel frames, rail feet, truss plates and fixings. Most shops use mild steel plate or square section, sometimes aluminium for lighter rooftop kits. Accuracy at hole spacing, slot length and bracket angle is vital to stop site headaches later: a 2 mm slip on a long rail can cost hours when panels do not fit.
Straight, square parts let the install crew bolt up safely and fast. Welds need to be neat and consistent, especially at feet and brackets that see constant wind loads. If you supply hot-dip galvanised frames, clean prep and full welds are critical to pass SANS 121 and site checks.
FabMaster gear and fixtures for solar bays
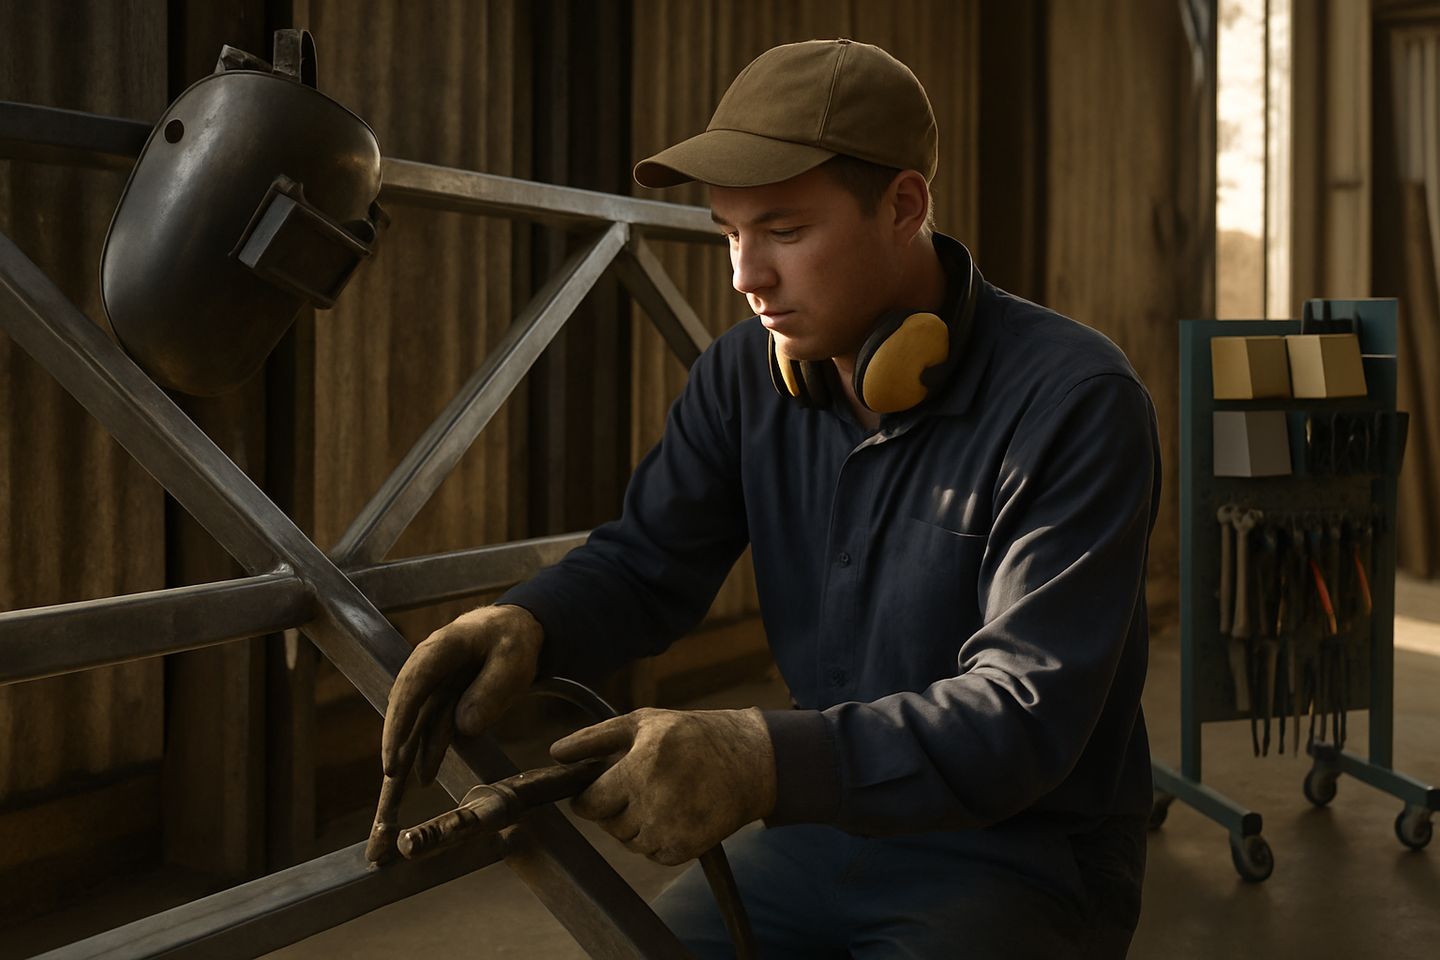
The BenchMaster Pro bench gives you a flat, stable worktop for clamping rails and brackets. The 50 mm dog-hole grid and angle block set hold long parts straight during layout and tacking. Use the M10 earth studs for a clean welding earth, never clamp to moving fence parts or another bay. For drilling and marking, the MeasureKit Fab covers squares and calipers, with a foam case to keep gear separate from oily tools. The ClampRail System lets you secure tricky angles and keep parts flush for tack-up.
The EarthBond Kit is essential for safe return paths on every job. Tag your earth points and check lugs and clamps before starting the batch. If you need to prep batches of feet or angle plates, JigKit Modular plates and recipe tags let your team repeat the same setup each time, even if the shift changes. For high-volume yards, Consumable Cart and ScrapRack Lane keep discs and offcuts tidy, so you do not waste time on bay clean-ups.
- BenchMaster Pro for flat layout and earth studs
- ClampRail System for holding rails and feet
- EarthBond Kit for secure welding return
- JigKit Modular for repeatable parts
- MeasureKit Fab for precise marking
How to run solar bracket work in your yard
Batch work suits most solar bracket jobs. Cut and punch all parts for a run before welding, then move to the assembly bay. Mark parts with thickness tags and layout cards to stop mix-ups, especially when switching between 3 mm and 6 mm stock. Always keep the work area clear of offcuts and loose cables to avoid trip hazards, as required by the Occupational Health and Safety Act.
On the coast, keep clamps, bare steel and callipers wiped and oiled, Durban and Gqeberha see rust creep within days. Inland yards battle dust, especially Highveld winters, so check that sliding jaws and rails run clean. Weld inspections and record sheets help if you supply to contractors who work to SANS 2001-CS1: save your weld sizes, batch cards and any site queries. Power trips stall the shop, so plan safe restarts. Only trained operators may weld or flame-cut, per General Safety Regulation 9.
Mistakes that cost time and rework
The most common mistakes are poor squareness, mixed-up bracket types and missed earth return. If a jig or clamp slips, a whole batch can stack up wrong. Always double-check the setup before tacking, once welded, it is slow going to grind out and redo.
Never route welding current through hinges, chains or bench frames. Always clamp return close to the weld zone on the bare part or use the BenchMaster Pro earth studs. Keep welds tidy, with no undercut or spatter, especially on visible brackets. On galvanised jobs, weld slag or spatter traps cause blistering after dipping, clean up before sending out.
- Clamp and check layout before tacking
- Keep earth return direct and secure
- Clean welds and remove spatter
- Tag batches clearly to avoid mix-ups
- Store steel and clamps for your local climate
Typical starting kit
Shopfloor note: Earth paths that stay short