Shopfloor note
Estate gate fit-ups
Estate gate fit-ups often come unstuck on the small things: alignment, paint damage, and missed square checks. Here’s how we set up to avoid headaches and keep installation smooth.
The real problem with estate gate fit-ups
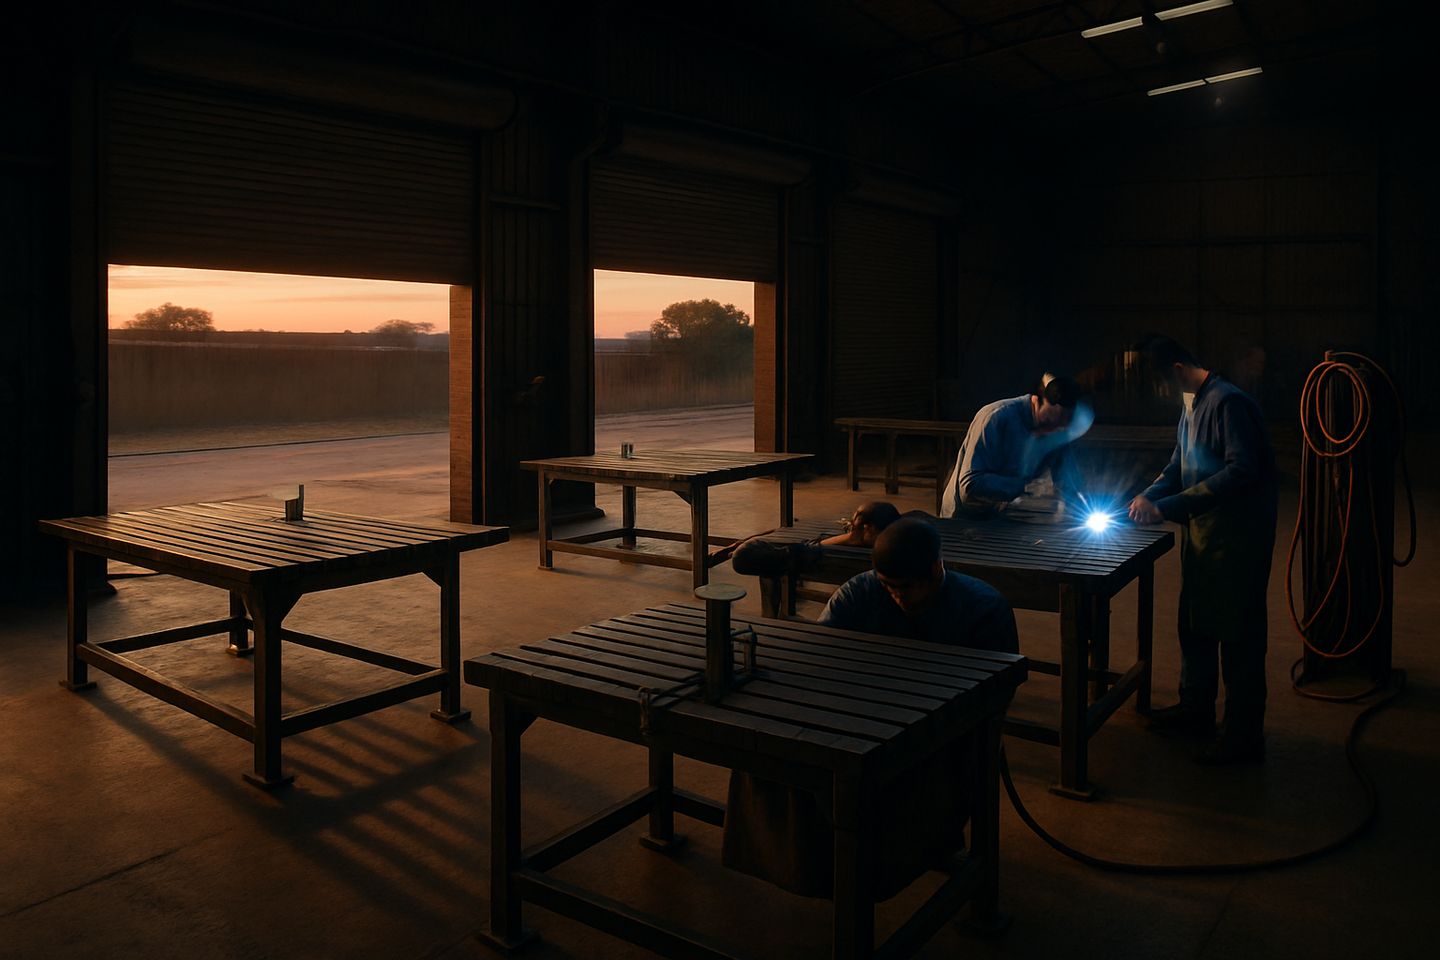
Estate gate jobs look simple until the last stage, when you find a twist in the frame or a scratch on a powder-coated tube. Most of the time, it comes down to bay layout and what gets missed in the rush. One crew grinds too close to a painted top, another leans a heavy panel on bare concrete, and suddenly you’ve got touch-ups before delivery.
In most yards, gates share space with other steelwork. Fittings, hinges, and runners go missing or get swapped between jobs. Plus, powder coating means you’ve only got one shot: fixing marks or realigning a frame on site is expensive and makes your fitters look bad. We set out to stop these issues before they leave the workshop.
Fit-up method step by step
Every estate gate fit-up in our bay follows this order. It’s not about fancy jigs, it’s about reliable checks, soft handling, and working from a clean plan. Here’s how we do it:
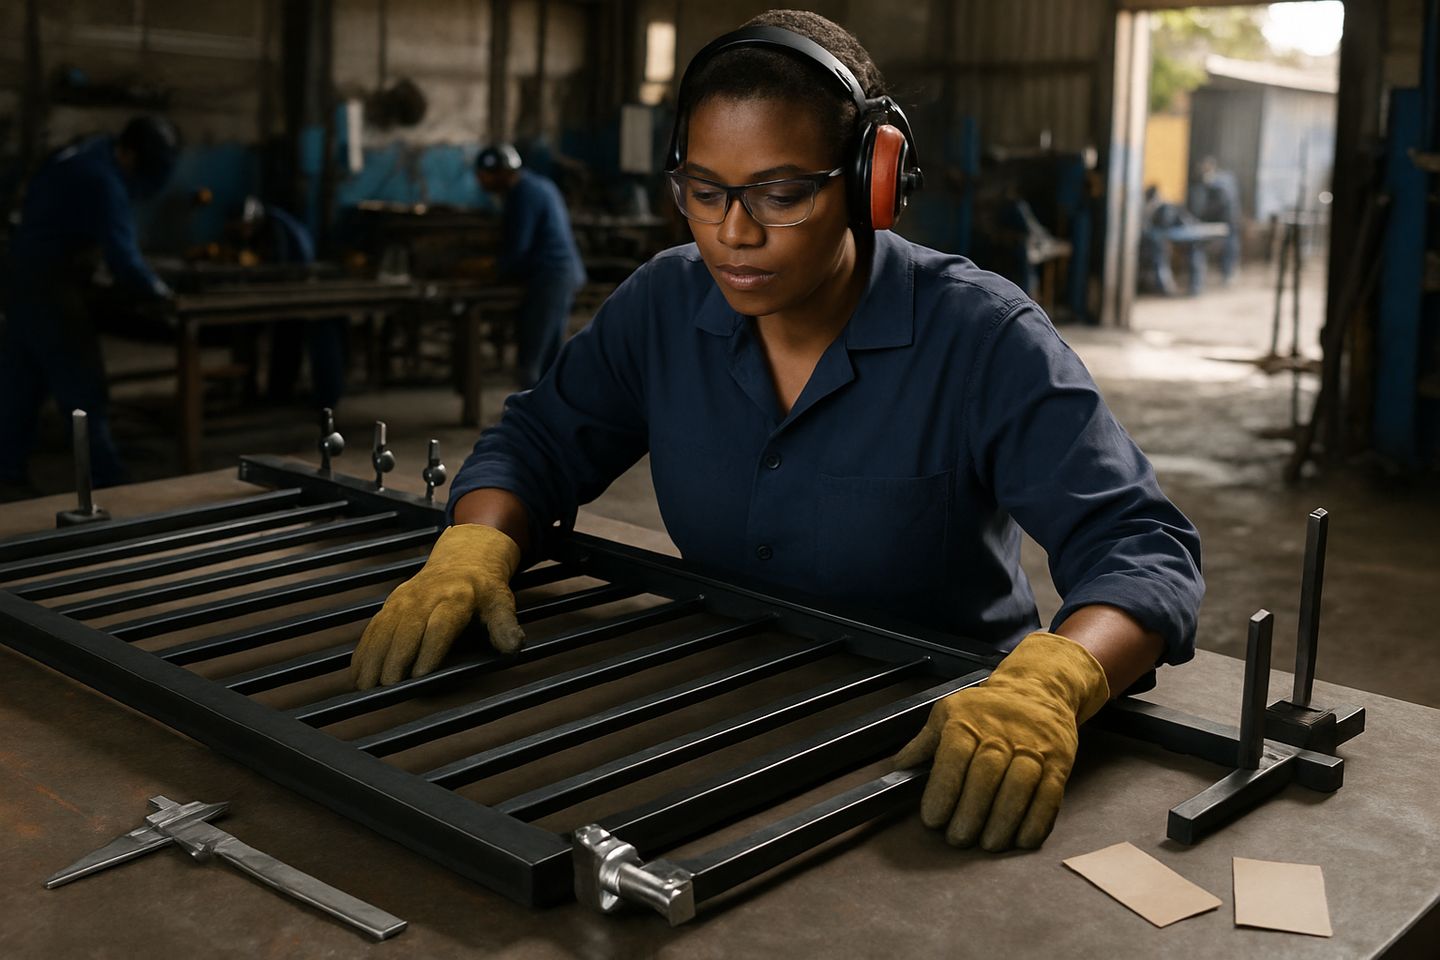
- Start by lining up the gate sections on soft jaw blocks or pads, never metal on metal.
- Bolt down square fences or use dog grid inserts on the BenchMaster Pro to hold the frame true while you take diagonal and straight-edge checks.
- Check every hinge location twice, mark it, then dry-fit the hinges with the correct tags or labels.
- If you need to grind or remove weld spatter, move the gate onto the GrindDeck Safe. Keep painted surfaces covered, and use the plug strip for extraction.
- Before final assembly, run a fillet weld gauge across all joints, then record the check on a printable shopfloor card. Only then move the gate to the ScrapRack Lane or dispatch area.
Common mistakes and how to catch them early
The most common slip is skipping the square fence at the first tack, they think the frame is fine by eye, but it pulls out of square after welding. Another is using steel clamps without soft jaws, which leaves a shiny scrape right through the powder.
We also see fitters in a rush forget to check hinge swing with the right bolts, or don't double-check the tag on a matching post. That’s when the gate arrives on site and suddenly the swing is wrong. Spot these by making sure every job card is signed off at each step, rather than only at the end.
How to use this in toolbox talks or when to send us a message
Bring up these points in a toolbox talk before a big estate order or when new apprentices join. Show the team how a fit-up sequence saves time, parts, and their own nerves.
If your bay layout is tight, or you’re missing soft jaws, square fences, or the right grind deck, send us a message. We’ll talk through your current gear and show you which fixtures or methods will sort out your line-up. Our contact form is the best way to reach us for questions about fit-up setups or printable shopfloor cards.