
Shopfloor note
Square fences before chalk
A square fence clamped up before the first chalk line is what keeps your whole job tracking straight, even when crews swap out or work runs late.
Why square fencing first saves time and rework
Nothing wastes more shopfloor hours than chasing a frame that started off out of square. You can scribe the sharpest chalk lines, but if your reference fence isn’t dead true before you start, every mark, tack and cut ends up wandering. With crews swapping between bays and sometimes three or four hands marking at once, any shortcut here shows up later as skewed chassis, extra grinding, or fighting with the fit-up. This is where squaring your fences properly, before any chalk touches steel, gives you a proper baseline.
We see it most on repeat jobs. If the first one's layout is off, you'll chase that mistake run after run until someone stops and re-squares. Laying down the fences right from the start is the habit that keeps your tables true, especially on a busy floor with new trainees or shift changes.
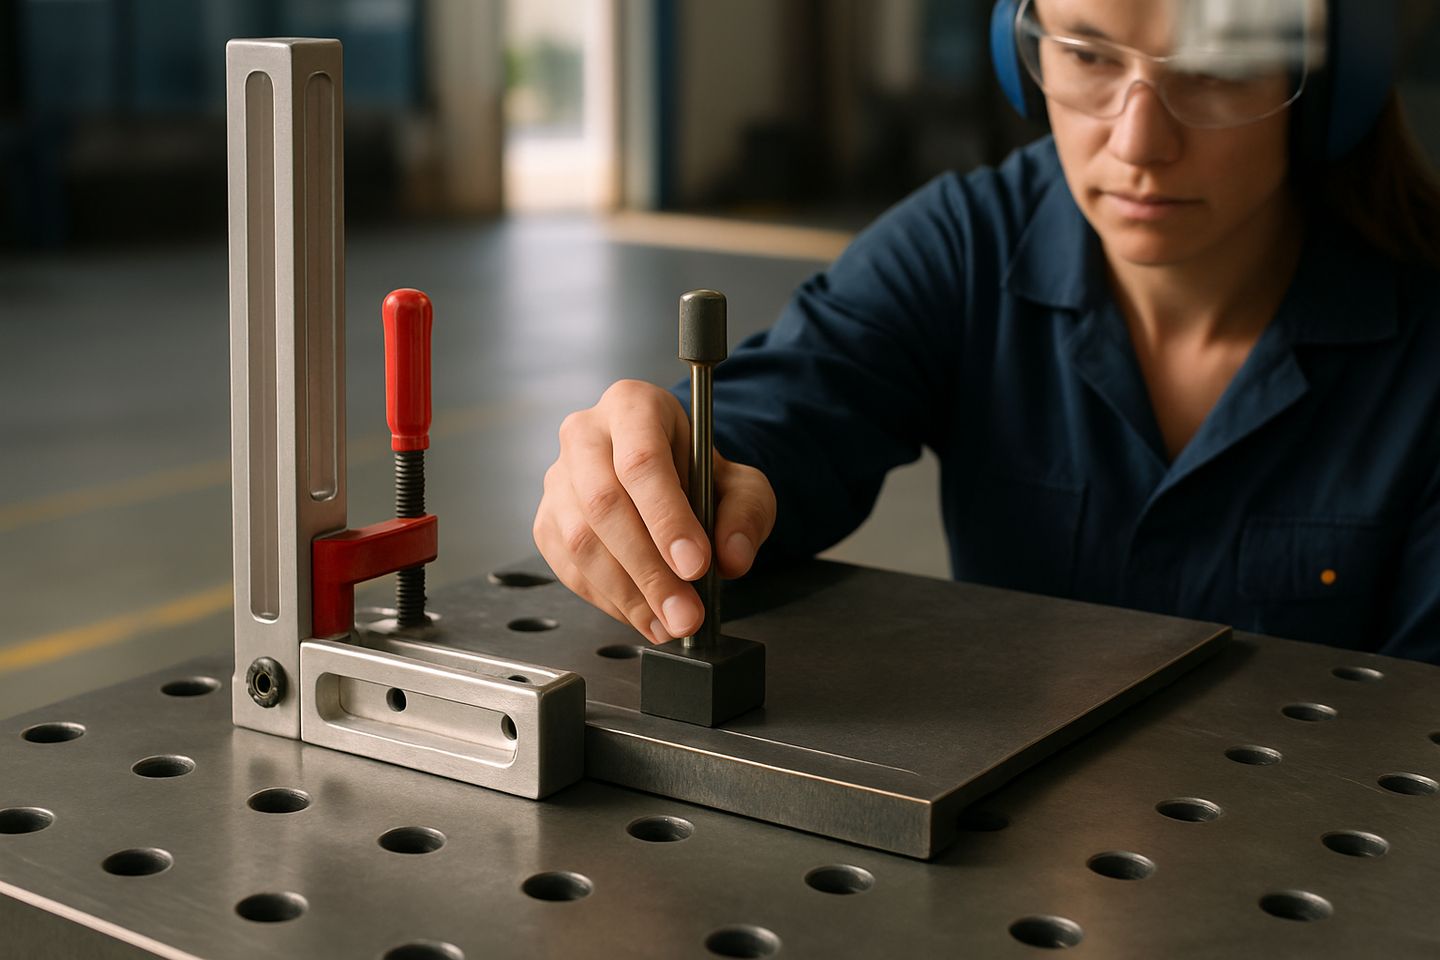
How we square fences before marking
Start with a bench or layout top you trust, if it’s our Layout Table XL, make sure it's on solid ground and the adjustable feet are supporting the corners evenly. Wipe down the surface so there’s no scale, slag or offcuts under your fence. The square fence kit comes with a precision fence, two clamps and a measuring rail for setup.
Drop the fence about 100 mm in from the table edge, then use a large machinist’s square or a combination square to set it at 90 degrees to your datum edge. Clamp one end, check square at two or three points along the length, then clamp the other side. Sight along the fence and run your hand underneath for any burrs or daylight. Only once you’re happy it’s square and flush do you mark your first chalk or scribe line.
Repeat for a fence on the other axis if you’re building full frames or ladders. For critical jobs, I measure diagonals to check both the table and fence, especially after a table move.
- Check table level and stability before starting
- Clean surface and remove shavings or debris
- Use a reliable square, rather than only a tape or eye
- Clamp fences firmly before marking
- Double-check squareness along the whole fence
Common mistakes and how to spot them early
It’s easy to rush this step when you’ve got a queue behind you, but every shortcut here grows into a bigger headache. One slip is using a bent fence or a square that’s taken a knock without noticing. Another is clamping only at the ends, so the centre bows out and your chalk line curves. Sometimes a busy hand double-checks with a tape, not a square, and its just not true enough. Don’t forget that any weld spatter or old grinding dust under the fence will also throw it off.
Keep an eye out for light showing under the fence, or a chalk line that seems to wander from the fence as you move across the table. If you spot a misaligned fence, stop and reset before you lay out the next piece. Catching it now saves hours later.
Bringing this into toolbox talks and when to send us a message
This is a habit worth drilling into every team, from apprentices to old hands. Bring it up in toolbox talks when a new layout table arrives, after a table move, or when you see new faces on the job. Demonstrate the setup and let each person clamp and square the fence themselves. Use a fillet weld gauge or a square to show the difference one millimetre out makes at the far end of a chassis.
If you run into trouble squaring up because your table top has warped, the fence kit’s not lining up, or you want a trick for faster repeat setups, send us a message through our contact form. We can run through checks with you, help spec a replacement fence or talk through layout table upgrades.