Job path
Signage frames
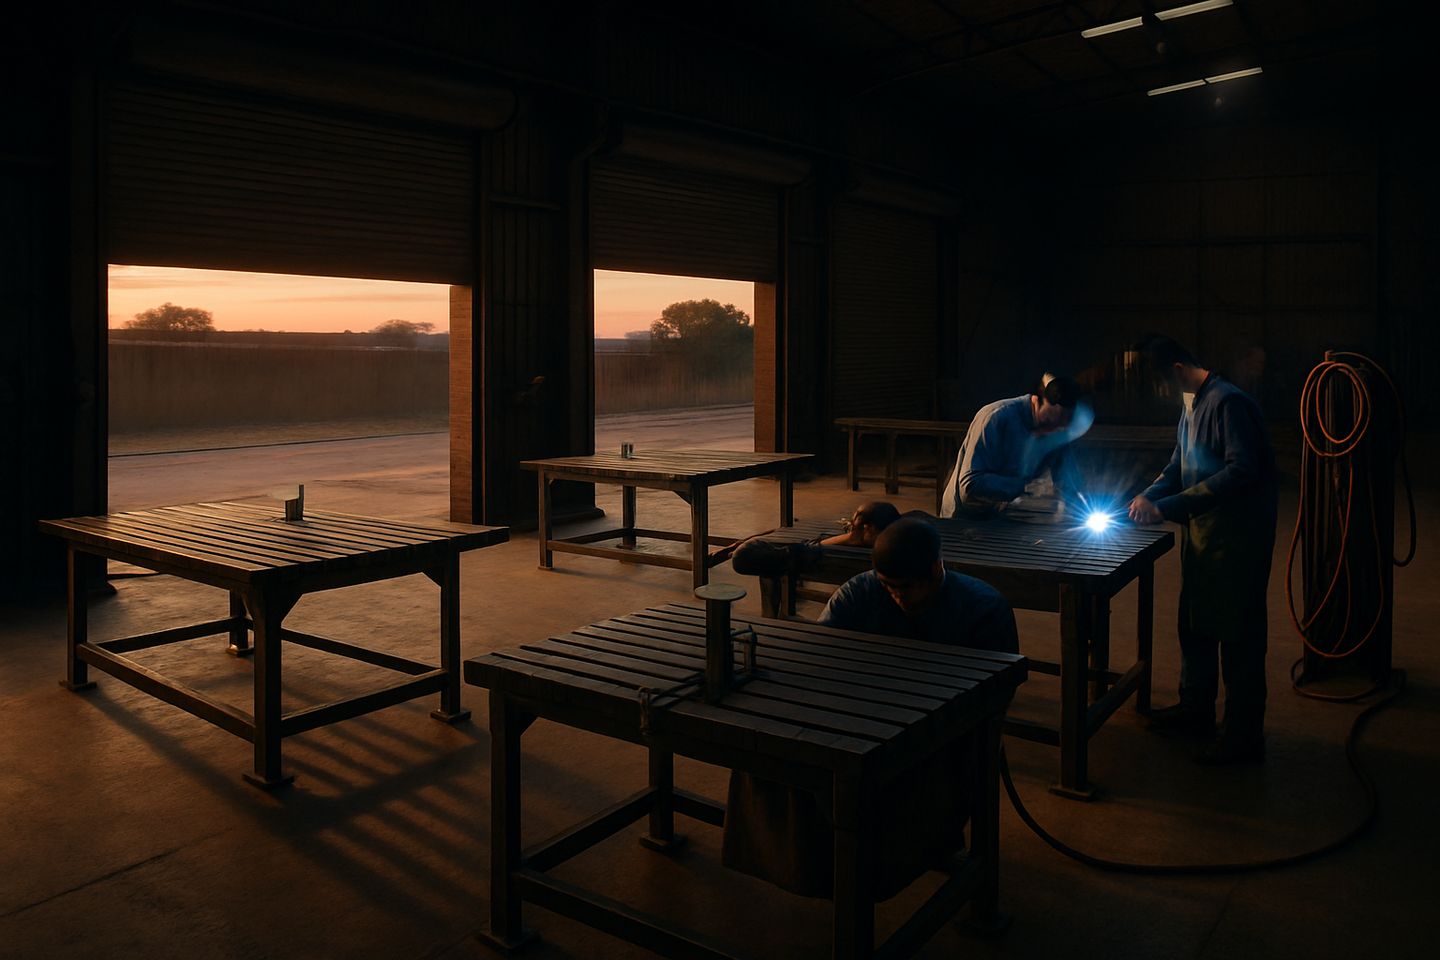
Making signage frames is about clean, square welds and straight steel that stands up to weather and handling. Mistakes show quickly when the sign goes up and has to face the public.

What signage frame work involves and why accuracy counts
Signage frames use mild steel tubing or angle, often 25 to 50 mm, with basic mitres or butt joints. Joints must be square and fully welded, since any twist or gap leaves the sign face out or makes site install tricky. Outside frames need careful prep for galvanising or paint, especially in coastal air or mall environments where rust and stains are not tolerated. Common parts are rectangular frames, cross-braces, wall plates, support legs, and sometimes ground spikes or feet.
A 2-millimetre gap or a 3-degree mis-cut is all it takes for a frame to wobble or the sign face not to fit flush. Most jobs call for holding diagonal measurements within 2 to 3 mm and keeping all corners properly braced. For mall or retail jobs, visible welds matter, so spatter and grinding marks must be kept tidy.
FabMaster gear and fixtures for signage frame jobs
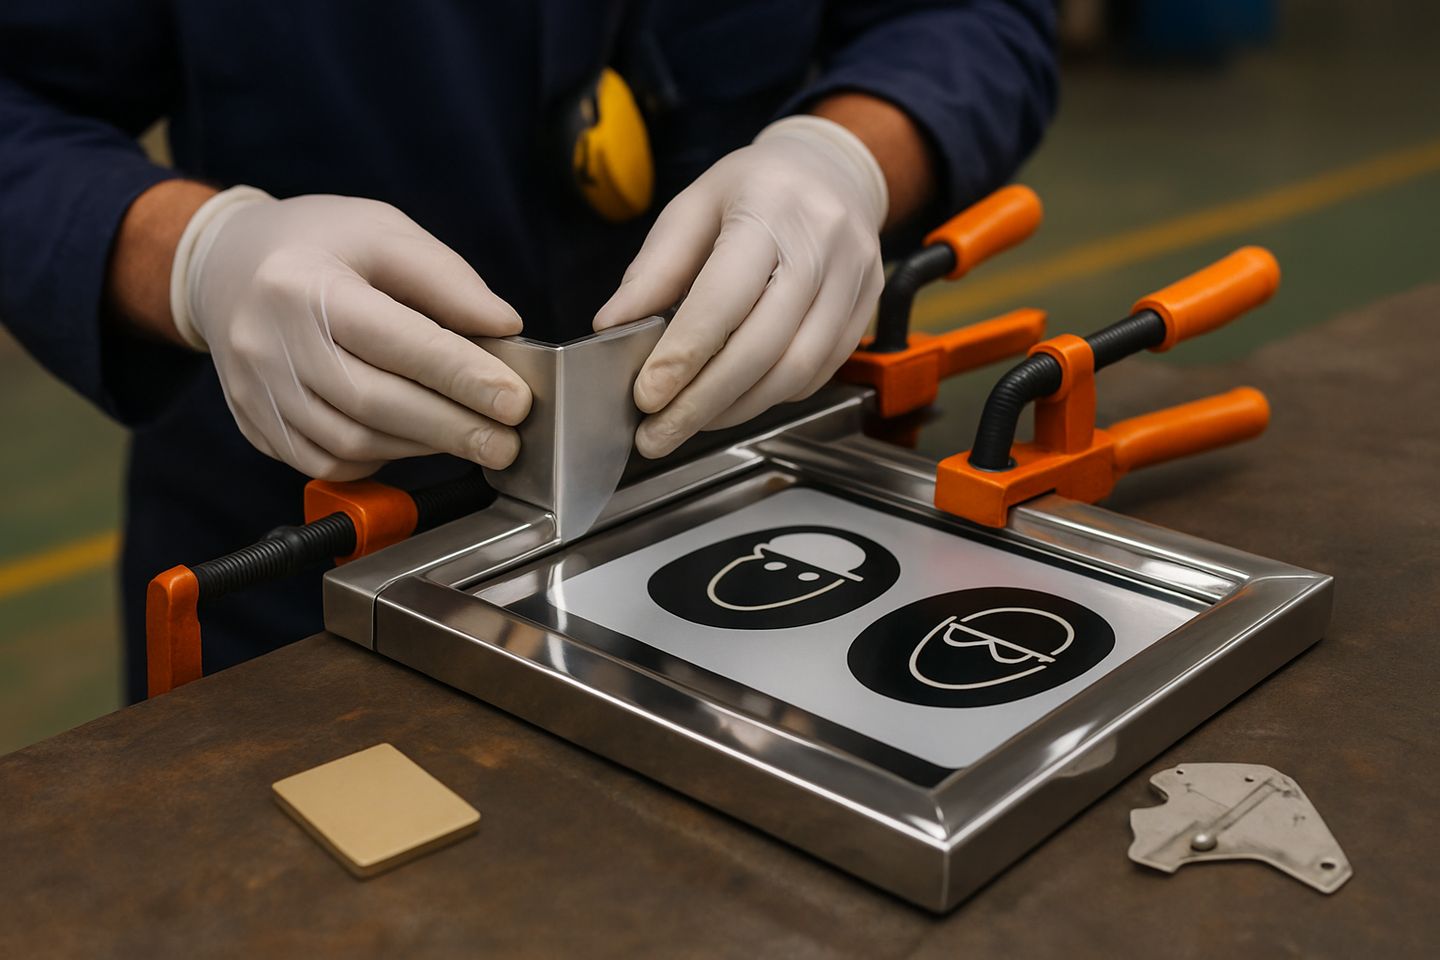
BenchMaster Pro is a practical base for signage frames up to 2.4 metres, with its flat 50 mm dog-hole grid for clamping tubes square. ClampRail System rails pin long profiles or corners without slipping, while JigKit Modular plates and angle blocks lock in repeat jobs or odd shapes. If your frame runs longer than the bench, use a pair of rails and a layout block on a clear floor for alignment.
For measuring, MeasureKit Fab’s 300 mm square and fillet weld gauges are your go-to for checking joints and finished lengths. ScrapRack Lane makes it quicker to pick stock and keep offcuts separate by size, so tube and angle do not get mixed up. EarthBond Kit gives you a dependable welding return point, so you do not burn bearings or mark visible steel. GrindDeck Safe helps keep sparks away from powder-coated or pre-finished sign faces stacked nearby.
- BenchMaster Pro for flat clamping
- ClampRail System for corners
- JigKit Modular for repeat shapes
- MeasureKit Fab for checks
- ScrapRack Lane for tube and angle
Running signage frame jobs well on a local floor
Batching helps: cut and prep all sides at once, then tack up frames in pairs to keep things square. Run a checklist for each job, from material pick to weld record. In coastal towns, wipe down tubes before welding and inspect every fillet for porosity from damp electrodes or surface rust.
Keep a job card with quantities, sizes, finish spec, and the install date visible at the bay to avoid confusion. Welders should record their fillet welds on the shift log, which helps when you need to prove work done or trace a defect. For mall or branded jobs, snap a photo of the frame before paint to catch any issues early.
In Gauteng and inland, dust and dry air mean less rust but more static, so earth returns must be kept checked. In Durban, Gqeberha or the Cape, salt-laden air can pit unfinished steel within a day, galvanise or prime frames as soon as possible.
Mistakes that waste time and lead to rework
Leaving gaps or misaligned corners in a frame causes sign faces to warp or stickers to bubble, which leads to call-backs. Skipping the square check before final welding means you often chase twist or skew that only shows up on install.
Loose grinding, hammer marks or weld spatter on visible faces waste time at the painter or on site. Weld returns left on bearings or through another bay’s bench risk arc damage and failed joints. Always bolt earths to clean metal or use the BenchMaster Pro earth studs.
Not labelling or sorting lengths leads to mix-ups, especially when running batches for a retail chain or multiple sizes. Keep a whiteboard or job card at the bay and avoid cutting or welding off the wrong side.
- Forgetting square checks before finish welds
- Rough grinding that marks the frame
- Mixing up tube sizes or lengths
- Skipping earth return checks
- Letting stock rust before welding
Typical starting kit
Shopfloor note: Remnant lanes that finance likes