Shopfloor note
Light the fit-up bench, not the roof
Most fit-up mistakes are made in bad light. A few cheap changes at the bench help your team see gaps, burrs and out-of-square corners before the first tack goes on.
Why bad light costs you rework
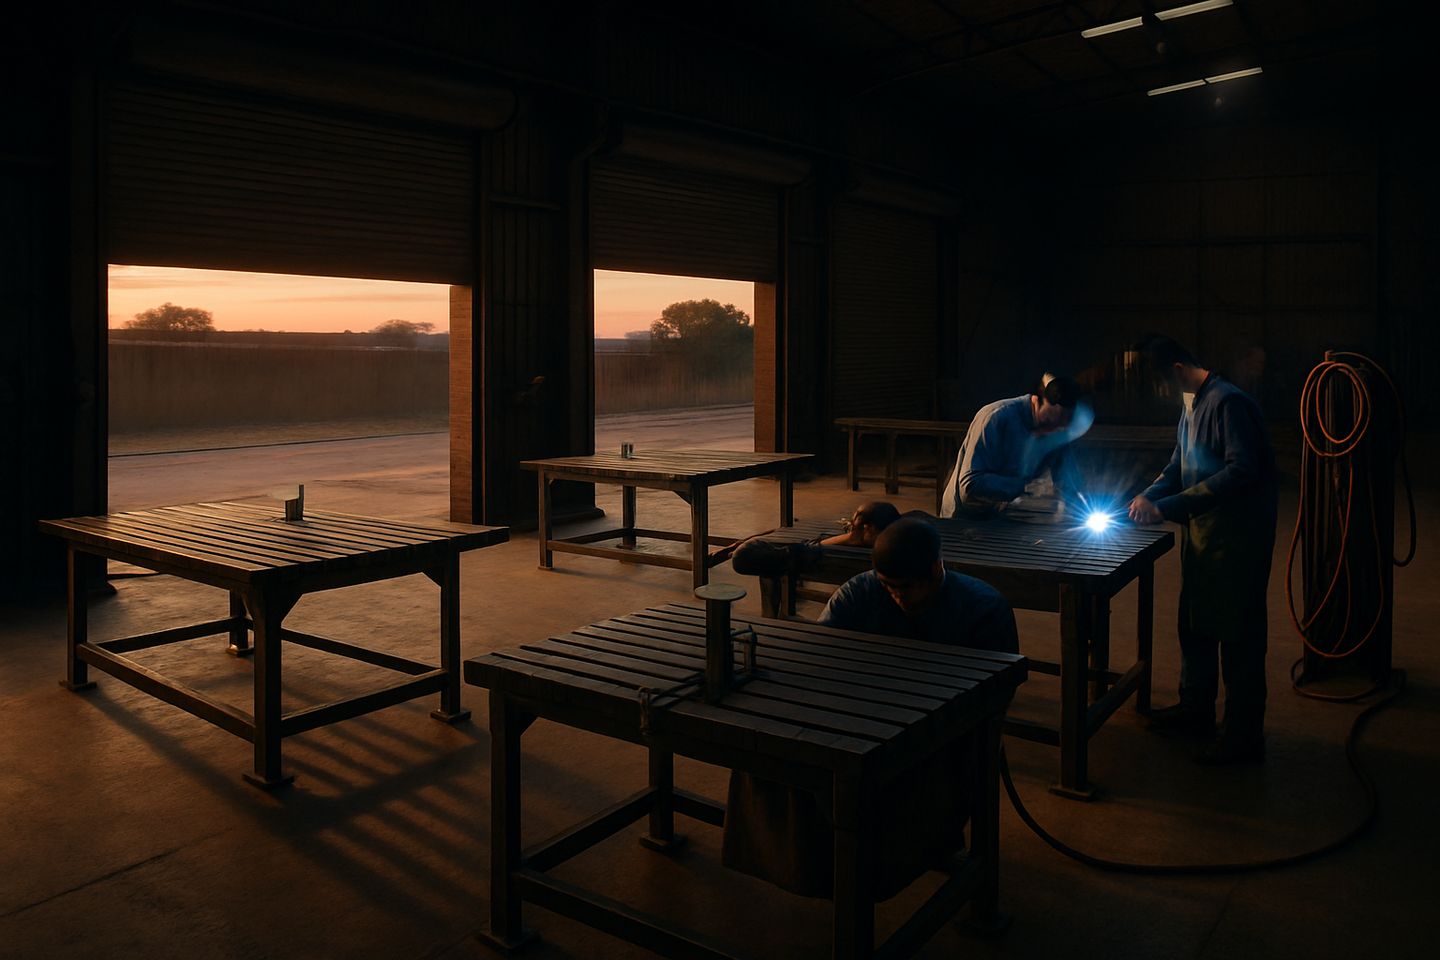
Walk into most fab bays at four in the afternoon in winter and you will see the same thing. The roller door is half shut against the wind, the high-bay lights are on, and the fitter is bent over the bench with their own shadow sitting right on the joint they are trying to check. Gaps that should be 2 mm end up 4 mm on one side, and a corner that looks square from above is off by a few millimetres when you put the tape on the diagonals.
Its rarely a skills problem. Our team has watched good fitters struggle simply because the light comes from one high point and everything on the bench is lit from behind them. When the gate or frame goes to the welder like that, the welder bridges the gap, the part pulls, and someone spends the next morning on the straightening press. Light is the cheapest fixture in the bay and the one people think about least.
Set up light at bench height
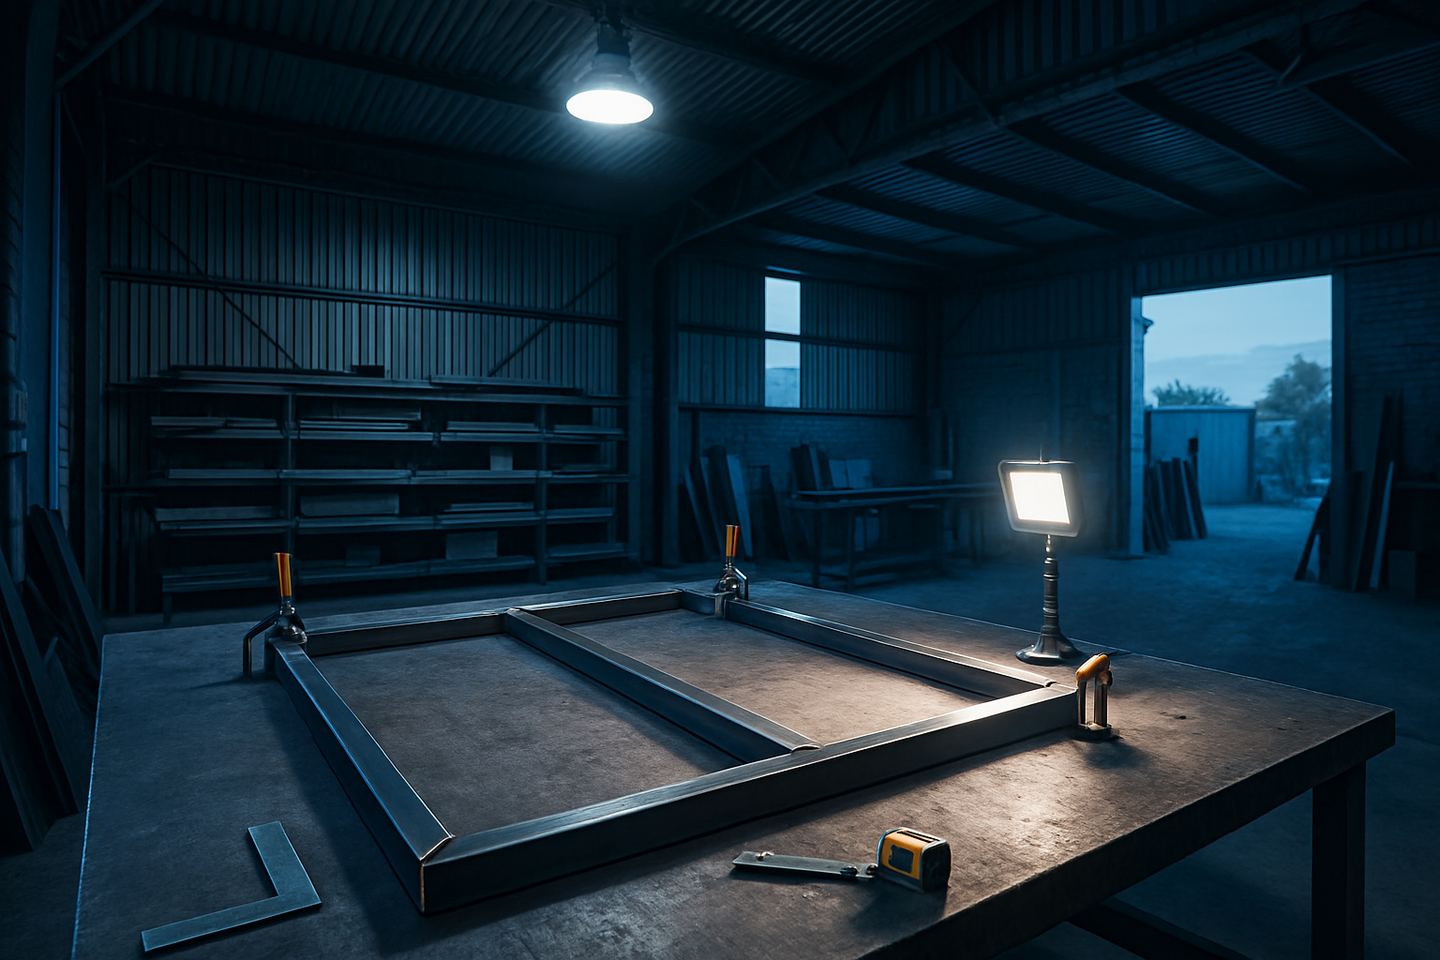
The fix is not more roof lights. It is light that comes in low and from the side, so it rakes across the steel and shows up every step and gap. On our Sunnyrock fab floor in Germiston we run each fit-up bench with three sources, and we ask customers to copy the layout before they buy anything else.
- One overhead LED high-bay of about 150 W, mounted so its directly above the bench centre, not above the walkway.
- Two portable LED work lights on magnetic bases, placed low at opposite corners and angled across the work.
- A neutral white colour of around 4000 K to 5000 K, so mill scale, primer and bright steel all look like what they are.
- Matt grey on the wall behind the bench, not white gloss, to cut glare off the steel top.
- A battery work light on the bench for the inside of channels and box sections.
If you use our BenchMaster Pro or a Layout Table XL, the dog holes along the edge make a good anchor for magnetic lamp bases, and the lights stay put when someone bumps the bench with a length of tube.
Load shedding and the after-hours shift
Plenty of yards still plan around power cuts, and the first thing to go dark during a cut is usually the roof. If your generator or inverter only carries the welders and the compressor, the fitters end up working by phone torch. Put the two bench work lights on the backed-up circuit, or use rechargeable ones and charge them as part of the morning start. Its a small thing, but it keeps fit-up moving while the big lights are off, and fit-up is normally the slow part of the job anyway.
For teams that start before sunrise, the same rule applies. Turn the bench lights on before anyone picks up a clamp. Eyes take a few minutes to adjust, and the first measurement of the day is often the one that gets skipped.
Use the light to check your work
Once the bench is lit properly, use it on purpose. Before a frame leaves the bench, drop one work light flat to the steel and look along each joint from the opposite side. A gap glows, a burr throws a shadow, and paint or oil on the weld zone shows as a dull patch. Then run the tape on both diagonals and write the numbers on the part in paint marker. Our MeasureKit Fab and the pre-weld measure sheet make this a habbit rather than a hope.
Training groups get a lot out of this too. Mr Sipho Dlamini runs a short session where apprentices check the same frame under roof light only, then under bench light, and nobody needs to be convinced after that.
Start with one bench
You do not need to relight the whole workshop. Pick the bench that does the most fit-up work, set it up as above for a week, and track how many parts come back for straightening or regrinding. Most bays we visit see the difference in the first few days. If you want help planning the layout or would like to see it in person, book a visit to one of our showrooms or send us a message through our contact form with a photo of your bench and the time of day you struggle most.