Shopfloor note
Pre-weld measures that stick
A good weld starts with sharp habits before you even pick up the torch. Here’s how we make pre-weld checks second nature on a busy floor.
Why pre-weld checks matter on our floor
In any high-turnover workshop, we’ve all seen the fallout from skipping pre-weld checks: cut parts on the wrong side of the line, wrong squareness, missing tags or poor earth return. These issues chew up time, stock and reputation. It’s more than about getting the weld right, it’s about preventing the kind of mistakes that force rework or expose us to safety risks. On a busy day, it’s easy to think you’ll check it as you go, but that’s how small errors slip through and cost you later.
From my side in metrology, I’ve watched even skilled hands rush through layout or skip a calliper check under pressure. That’s why pre-weld measures must be a working habit, not a paperwork box. They give you a buffer against high pace and shifting teams, especially when the job queue grows and power interruptions force a restart.
Our step-by-step pre-weld method
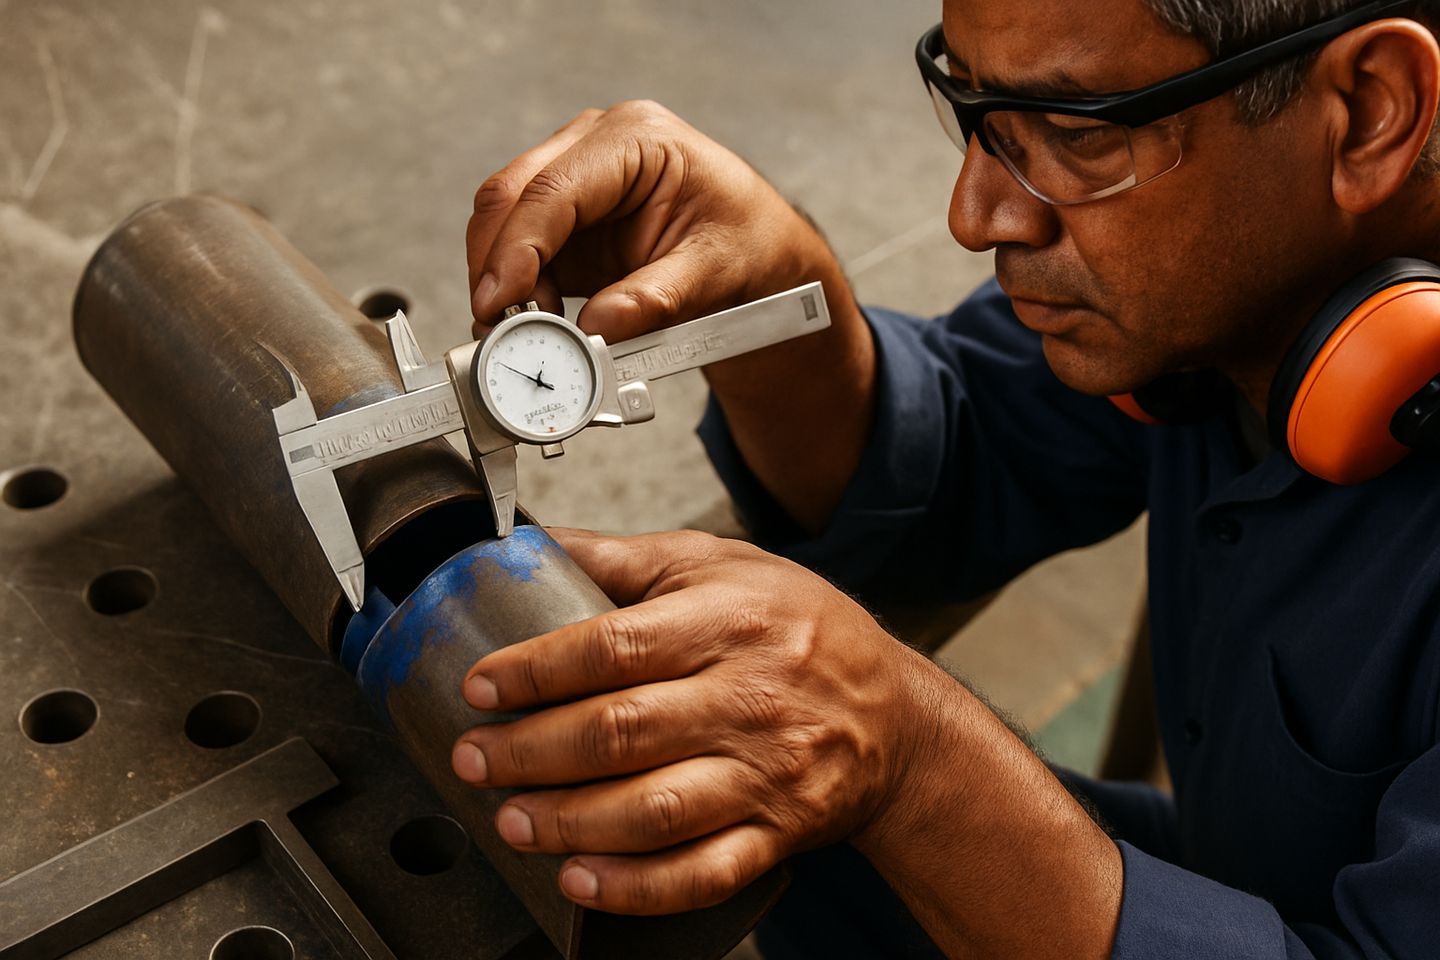
We keep our method simple and repeatable so the whole team works the same way. Start with a clean surface: brush off oil, dust and scale. Next, mark out with a scribe or chalk, rather than only by eye. Confirm all sizes against the drawing using the correct tool, callipers for small parts, tape for larger spans. Fit parts dry and clamp them in place, checking both squareness and any gap required for the weld. Earth return comes next: clamp to clean, bright metal as close as you can to the weld zone, using the BenchMaster Pro’s M10 studs or directly to the workpiece.
Look at your cables and hoses for cuts or burns, and check your PPE is at hand. Finally, run through the job with a partner, confirming you both see the same layout and sequence.
- Clear the bench and parts of oil and dust
- Mark using scribes or chalk, rather than only markers
- Check key sizes with callipers or measuring tapes
- Dry clamp and check squareness and gap
- Clamp earth return to clean metal near the weld
Spotting common mistakes before striking an arc
The most common slip is trusting your eye or memory for sizes, always double-check. A rushed operator might forget to check earth return, routing it through the wrong spot or letting it clamp to a dirty, painted surface. Another regular is skipping callipers and just holding parts together, hoping they line up. Don’t miss this step, even if its a quick tack job. On some jobs I’ve seen the same gap set twice when the first check was missed, so always tag or note it.
Also watch for misread drawings, upside-down tags, or missing thickness labels, especially when the shop gets loud or busy. If you spot a pattern in mistakes (like repeated wrong side cuts), bring it up in your toolbox talk and put a note on the job card, not in your head.
Making checks part of the toolbox talk
Bring these steps into your morning briefing or toolbox talk. Run through one real example, show the actual tools, and point out a slip or two you’ve seen. Ask someone to walk the steps out loud so everyone hears it clearly. That way pre-weld checks become a shared habit, rather than only a poster on the wall.
If you’re setting up a new bay, onboarding a team or want our MeasureKit Fab cards or layout advice, send us a message through our contact form. We can talk through real jobs, sample checks and how to fit it to your floor.