Job path
Gate & railing
Gate and railing fabrication centres on cutting, fitting and welding steel tube, bar and sheet into strong, square assemblies for secure entry points and boundaries.
What gate and railing work involves
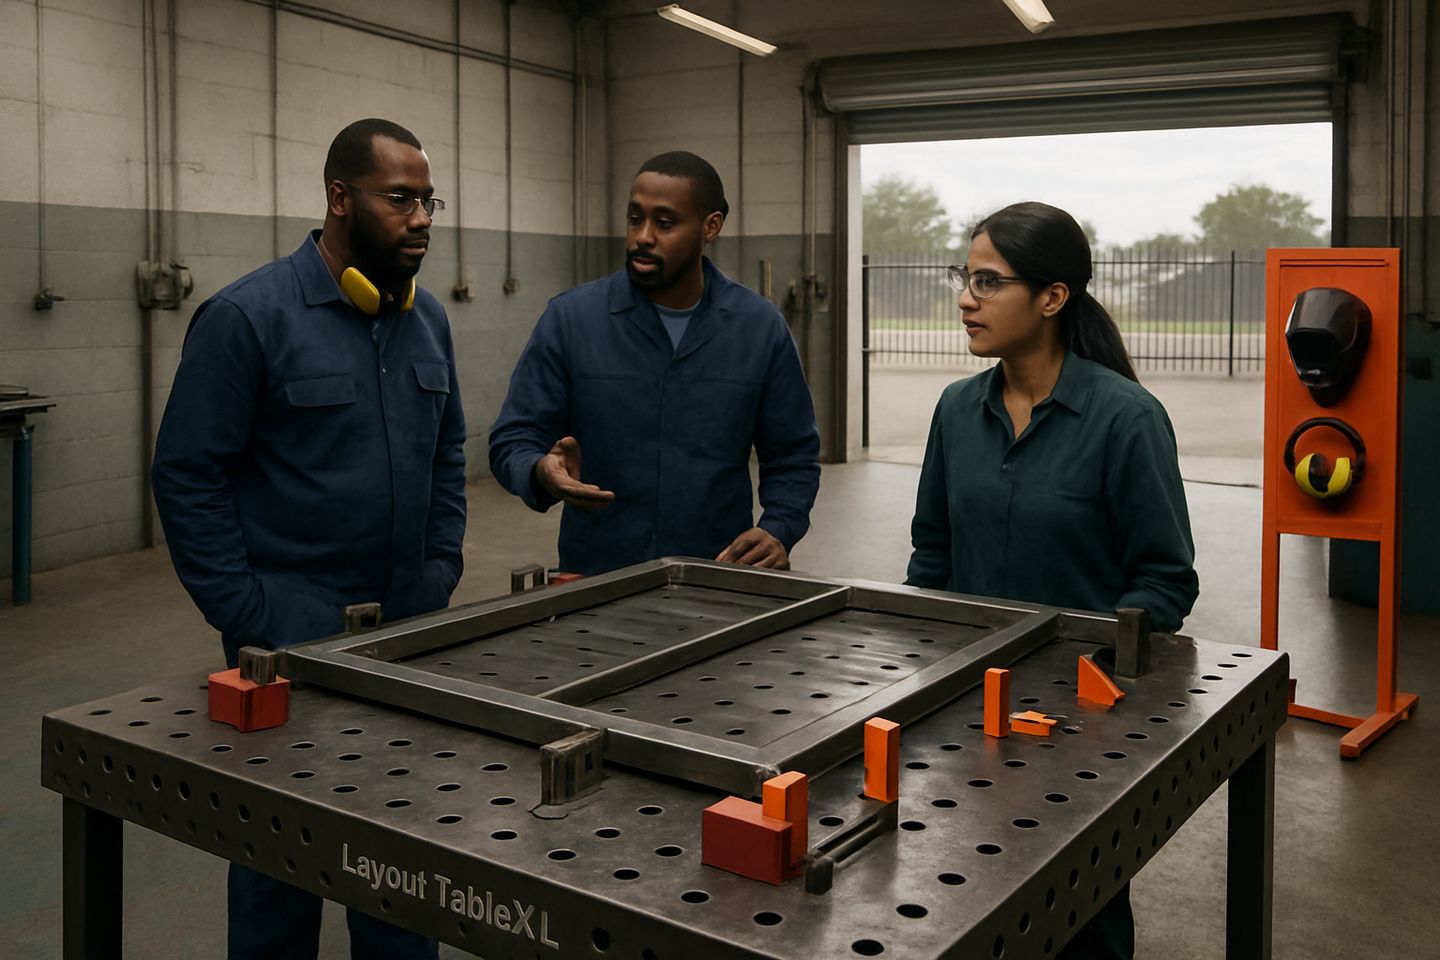
Fabricating gates and railings means working with mild steel square tube, round pipe, angle, bar and sometimes decorative panel or mesh. Common jobs include driveway gates, pedestrian access, estate barriers and protective railings for homes or complexes. Most assemblies need sections accurately cut to length, ends mitred or notched for weld fit-up and regular squareness checks.
Customers expect gates and railings to hang and close true, with neat welds and no twist or sag. Working to 1 or 2 millimetres over 2 metres is typical. Hinge mounts, lock plates and latch points must be positioned consistently. Paint or galvanising is usually the final step, so grinding and weld finish matter as much as structural strength.
FabMaster gear that keeps gate work square
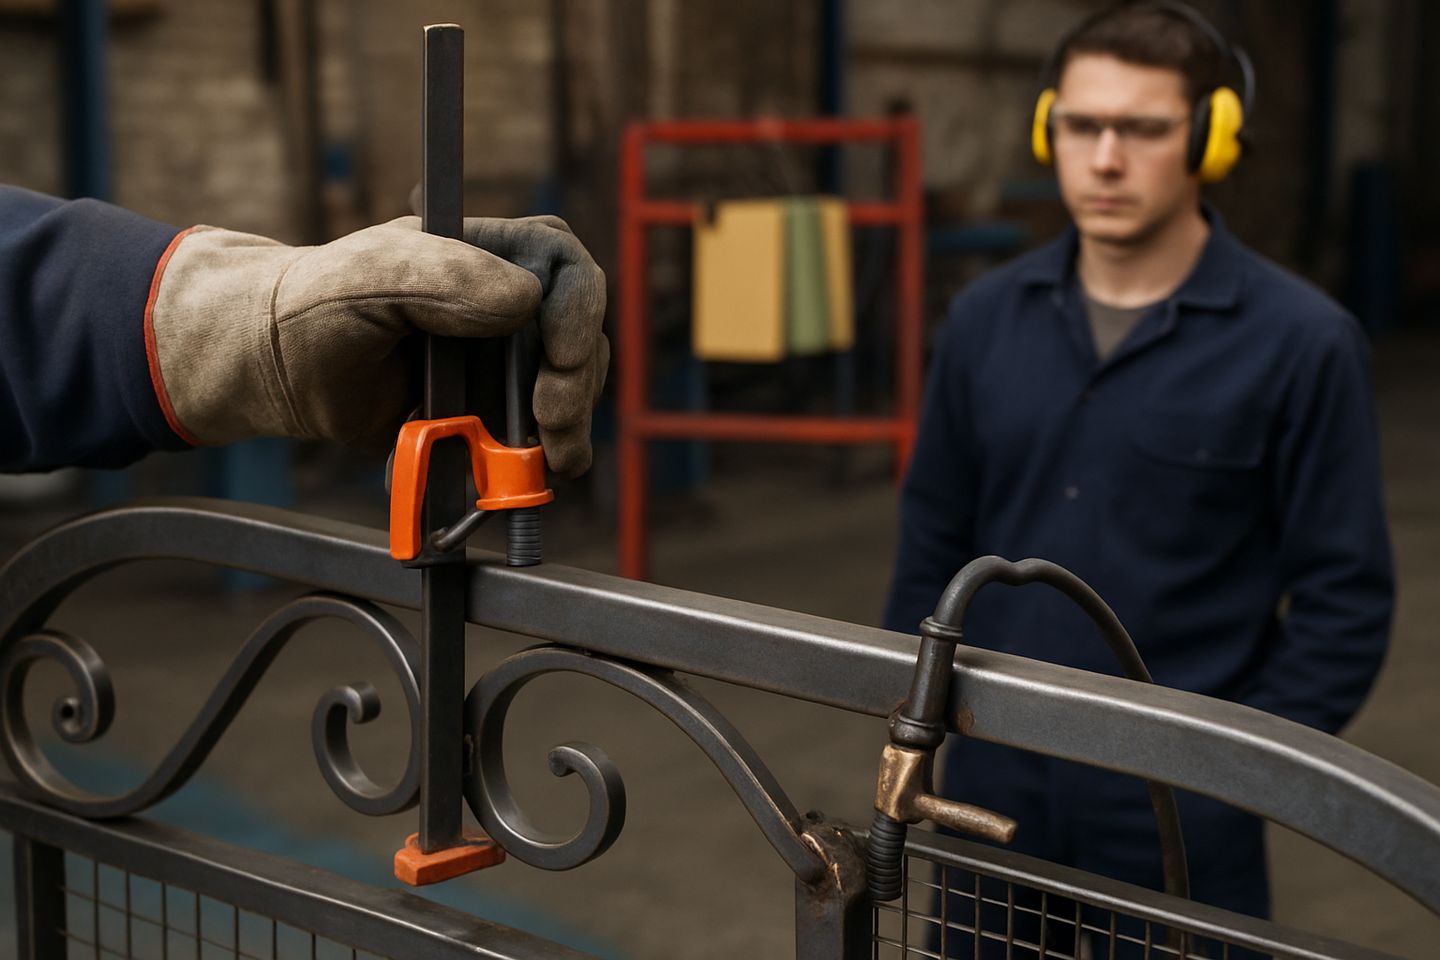
A BenchMaster Pro fab bench gives a flat, stable worktop for tacking up frames. The 50 millimetre dog-hole grid locks ClampRail System stops and rails in place, holding tube straight and square under load. ClampRail rails with soft jaws prevent painted or galvanised tube from marking, while angle blocks and dog inserts let you set up for 90 degree corners or mitre joints.
MeasureKit Fab covers layout and checks: 300 millimetre square for gate frames, fillet weld gauges for corners and bars, and shift log cards to track signoff. EarthBond Kits provide clean welding return with clamp-on plates or the bench’s M10 studs, keeping arc starts crisp and reducing risk of resistance faults during assembly.
- BenchMaster Pro for straight frames
- ClampRail System with soft jaws for tubes
- MeasureKit Fab for layout and weld checks
- Angle blocks for mitre and corner setups
How to run gate jobs in SA yards and colleges
Batches of similar gates or panels simplify cutting and welding, especially when job cards and kanban tags keep each crew clear on what’s next. On the Highveld, summer storms can interrupt welding, so plan cut and fit stages earlier in the day, leaving final welding for steady power periods. Coastal bays must oil bare tops and clamp screws weekly against rust.
Every welded gate should get basic checks: squareness, bar spacing, weld finish and hardware location. For contracts or bigger projects, fill out weld records and inspection logs. In colleges, the TrainBay Starter layout lets students practice gate routines safely, with clear zones for fitting, tacking and grinding according to General Safety Regulation 9.
- Batch similar parts for efficiency
- Tag jobs with kanban cards or shift logs
- Maintain tools against coastal rust
- Keep weld and inspection records
Costly mistakes and how to avoid them
Most rework comes from out-of-square frames or misaligned hinges. Fast tack-up without stops often ends in twist, forcing grinding and rewelding. Skipping squareness checks or using a bent ruler can see a double swing gate that won’t close right.
Leaving earth return cables loose or clamped to a painted surface causes arc blow and poor welds. Forgetting to clean grinder discs before finishing leaves swirl marks under paint. Always fit soft jaws to clamp painted or galvanised tube, and don’t skip spark skirt checks to keep the work bay safe for all.
- Check frame squareness every stage
- Use soft jaws on finished tube
- Clamp earth return to clean metal
- Inspect grinder and weld tools before use
Typical starting kit
Shopfloor note: Soft jaws for painted tube