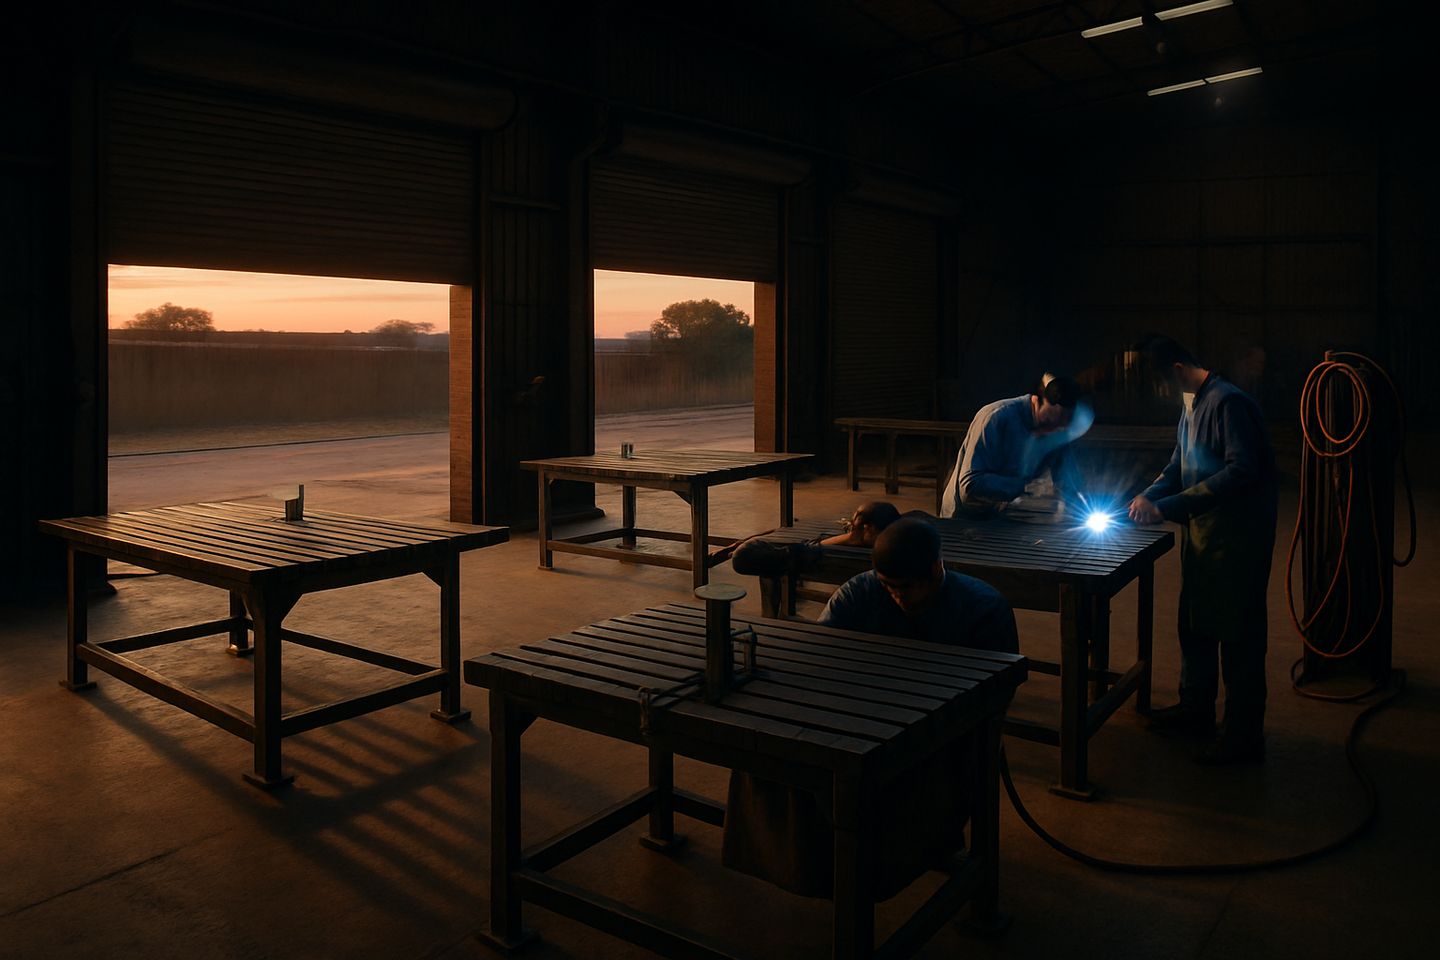
Shopfloor note
Trailer drawbar stops
Drawbar stops help keep A-frame trailer builds straight and repeatable on the shopfloor, even when jobs and hands are moving fast.
Why straight drawbars matter for trailer builds
On most South African workshop floors, one of the biggest headaches on trailer runs is keeping every A-frame straight. A drawbar that drifts even a few millimetres off centre means the trailer will tow badly, or the coupler won't line up with the hitch. It leads to wasted time, rework, and sometimes a batch of trailers that need hot fixes after they roll out.
Even with a good team, it’s easy for measuring errors or clamps to slip when you’re under pressure. Apprentices and new welders often rush tacks or use tape measures instead of fixed stops. We see this a lot in busy yards or when benches get rearranged and reference blocks go missing. That’s exactly where drawbar stops come in.
How we set up drawbar stops for A-frame welding
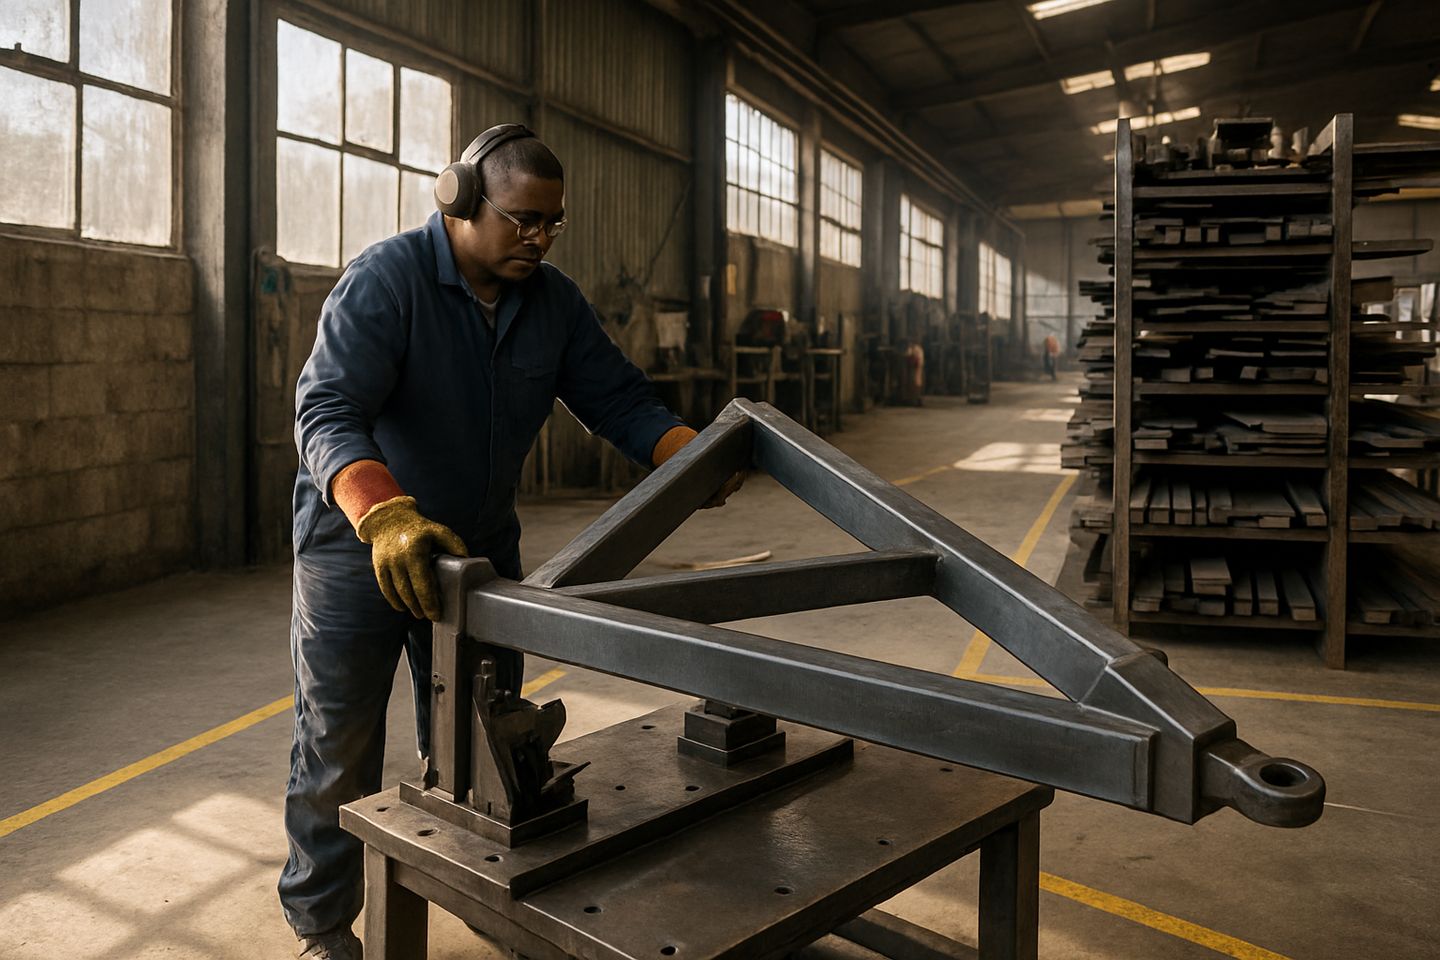
First, choose a flat and clean bench, BenchMaster Pro or a layout table with a square fence works best. Mark your trailer centreline and set your stop blocks at the correct drawbar angle, using JigKit Modular angle blocks if needed. Slot the stops into dog holes or bench slots so you can repeat the position for every frame in the batch.
Clamp both A-frame legs against the stops and double-check with a square and tape. Make sure your coupler plate or base is bolted or clamped in position so it can’t move while tacking. Only then do you start tacking. Keep the earth clamp close to the weld area, not on another bay or bench frame. Once tacked, measure diagonals and check the overall length before running your full welds.
Last step is to let the welds cool, then unclamp and check for any pull or distortion. If you are doing multiple units, keep the same stops set up for the whole run.
- Use a straight centreline and angle blocks
- Clamp stops into dog holes or slots
- Double-check both legs before tacking
- Earth clamp must be close to welds
- Measure diagonals after tacking
Mistakes that cause crooked or twisted A-frames
The number one mistake is rushing the setup. If you skip setting the stops square to the bench or miss a centreline mark, your drawbar can end up skew before the first weld goes down. Another easy slip is letting one of the A-frame legs move while clamping, it happens fast when you are working alone or when everyone shares one tape.
Sometimes welders forget to recheck the stop positions after moving the bench or cleaning up between batches. It’s tempting to just grab the last setup and go, but if something shifted, you’ll fight with alignment all day. Always check your diagonal measurements before and after tacking. If the coupler plate has moved or the frame pulls after cooling, reset your stops and don’t just try to bend it back by hand.
How to use drawbar stops in toolbox talks or training
We always bring drawbar stop use into toolbox talks, especially when a new batch of trailers or plant trolleys is starting. It helps to have a marked-up sample frame or a layout photo pinned to the wall so every team member sees how the stops must sit. You can let apprentices set up the stops and walk the team through the alignment checks before anyone welds.
If you find your team struggling to keep A-frames square or battling repeated reworks, its time to review your fixture setup. You can send us a message for practical tips or to ask about custom stop kits. We’re happy to walk you through setup at our Germiston floor or help you plan for your own benches.