Shopfloor note
Solar rail jigs
Solar rail jigs save hours on the floor by keeping every mounting foot and rail exactly where it should be, bay after bay. Here’s how we set them up and spot common errors.
Why solar rail jigs make or break your alignment
Every solar install starts on the workshop floor long before the panels hit site. If your foot plates or rail holes wander, you end up with panels that don’t line up, rails that need on-site chasing, and crews wasting time with drills and shims on a hot roof. Solar rail jigs are your shortcut to repeatable, bolt-on fit every time.
We see this on jobs for schools, warehouses and farms around the country. Even a 3 mm slip at each mount foot stacks up to rails bowing across a 12 metre run. The right jig keeps each foot in position, matches drill or weld zones, and lets you repeat the layout shift after shift, even when crew changes or you have one bay catching up after a power trip.
Our method for setting up a solar rail jig
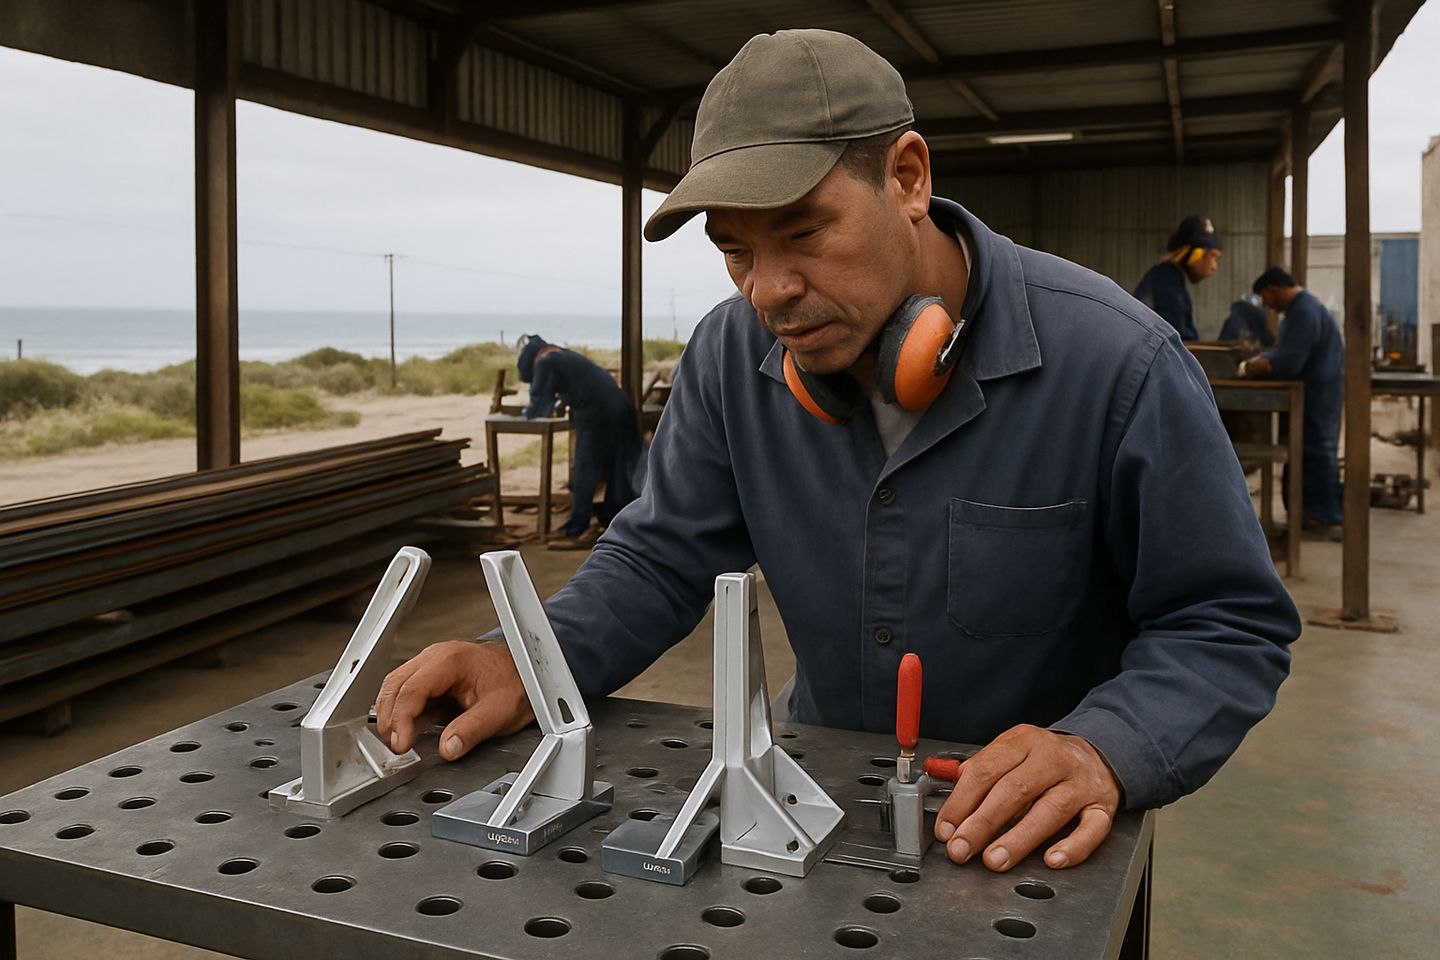
Start by laying out your master panel and rail set on a BenchMaster Pro or Layout Table XL. Use a fillet weld gauge and square to check that your first setup is flat and true. Mark off the foot positions and rail holes, then clamp down your stops and dog blocks. If you’re using the JigKit Modular, slot in angle blocks for each foot, tag your recipe and check for clamp clearance.
Always bolt down your earth return direct to the part or BenchMaster’s earth studs when welding. For drilling, fit a backer board or drop-in scrap plate to prevent burred edges under the holes. Once you’ve run one complete set, check measurements with a calliper or steel rule before unclamping. Keep your jig tag with the job card for quick handover.
- Lay out a master set first and check for squareness
- Clamp stops and angle blocks tight, avoid soft jaws for sharp rails
- Earth return must go direct to the welded foot or M10 stud
- Drill with a backer to keep holes clean
- Check each set with a calliper before unclamping
Mistakes that creep in and how to catch them
The most common slip is not clamping the stops tight enough. If one moves mid-job, you won't know until the next set lands on site and a rail sits skew. Another error is using a worn-out angle block or letting the tag go missing, so the next operator lines up off the wrong side.
Don’t forget to check your jig for metal splatter and offcuts trapped under the stops. Every couple of sets, do a quick check by running a steel rule down the row. If you spot a 1 to 2 mm step, stop and reset before it goes further. Watch for any loose M10 studs or dog inserts, they can let a part slide without you noticing.
Bringing this into a toolbox talk and when to ask for help
Bring your shop team around the jig and run through these checks at least once a week, especially when you swap between different solar rail makes. Use a marked-up sample and your recipe tag to show the difference a tight stop makes. Remind everyone that even a few millimetres off here can mean hours of rework on site.
If your bays keep fighting for clamps or your rails don’t match up with the CAD drawing, it helps to send us a message through our contact form. We can recommend a JigKit plate size or layout tweak for your next batch, and help with tagging or job card setup.