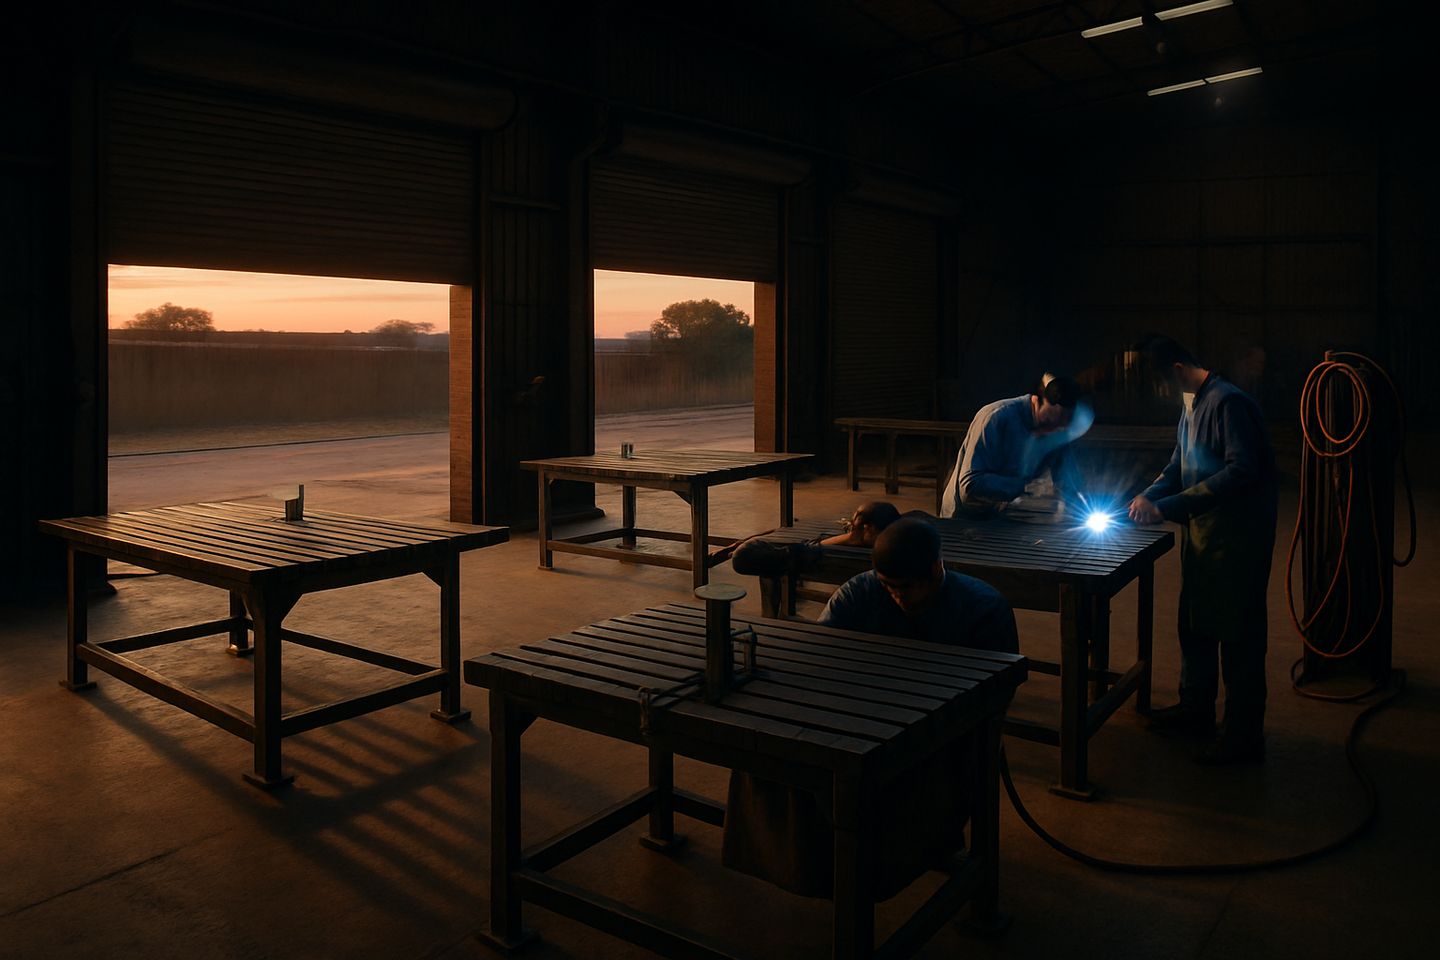
Shopfloor note
Dog-hole discipline on fab benches
A 50 mm dog-hole grid on your fab bench keeps your jobs square and fast, even when the team or shift changes. Let’s talk through how we use it on our floor.
Why bench grids fix more than squareness
On any busy fab floor, welded jobs wander if the bench does not give you a clear grid. You start with something square, then time, heat and rough clamping eat away at accuracy. The next shift picks up and nothing lines up like you meant it to. That is the usual scene if you just drill holes by eye or clamp freehand.
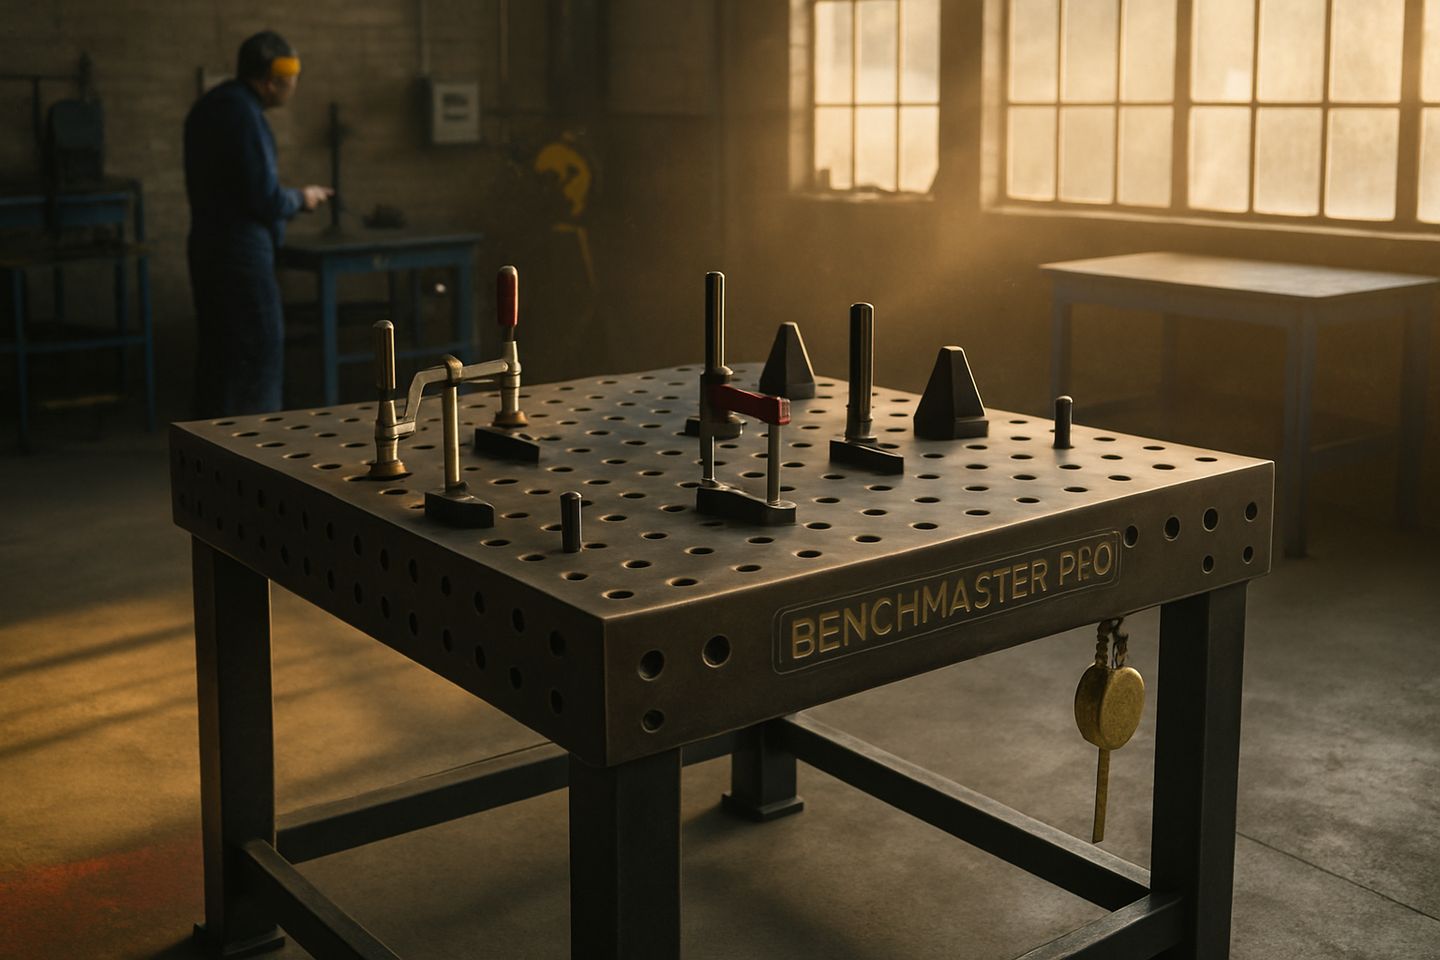
In municipal workshops, TVET bays, and even small trailer yards, we see new work teams every week. When you have a proper 50 mm grid, like on our BenchMaster Pro, you don't lose time hunting reference lines or re-squaring. The holes stay where they should, from summer Highveld heat to coastal damp, so that clamping, jigs, and earth points can be set fast and true.
A disciplined dog-hole layout saves you wasted time and rework. Less frustration, fewer bent frames, and far less arguing over 'what was centre last time' when the night shift comes in.
How we use the dog-hole system step by step
First, check the dog-hole grid for chips, splatter, or anything stuck inside. If you want a stable clamp, it must drop clean into the hole. Pick the closest holes to your weld seam or jig points, and set your standoffs or angle blocks there.
Line your main workpiece edges along the hole grid, using a square or the bench’s fence if you have one fitted. Drop in your clamp dogs or quick-release pegs, then place your clamps. For the earth return, bolt it onto an M10 stud or clamp directly on the job, not on a painty or rusty spot.
If you need to repeat a job, tag the hole locations with a recipe card or chalk mark. That way, nobody has to guess tomorrow morning.
- Keep holes clear of weld splatter
- Use hole grid for all clamps and jigs
- Bolt earth return to M10 stud if available
- Tag set-ups for repeats
- Check pegs and blocks for wear
Common mistakes and how to spot them early
The main slip is using only the nearest two holes and ignoring the rest of the grid. That just brings back skew frames and wobbly boxes. Another problem is rushing and not clearing splatter out of the holes, so clamps wobble or stick up. If you see pegs at an angle, or notice the clamp dogs pop loose during a heavy weld, that is your early warning.
Some forget to check the M10 earth studs for heat or arc marks, and end up with a poor earth or spatter on the cable lug. Don't let anyone clamp to the bench frame or on top of paint. Every now and then, you will find someone forcing a clamp into a bent hole, stop and fix that immediately, or you will fight with poor fits all week.
Look for missing or makeshift dog pegs, mix-matched clamp jaws, and signs that the holes have mushroomed. Fix or replace worn parts before they stall the next job.
Bringing dog-hole discipline into toolbox talks
A quick five-minute demo at the start of shift makes a big difference. Show the crew how to line up on the grid, clean a blocked hole, and set the earth return correctly. Make it part of the habit cards for new learners in training bays.
If the team keeps slipping back to freehand clamping, mark out one grid set-up on the bench and tag it for a week. It sets the habit. If something is not working, holes blocked, clamps not seating, or you want to upgrade to a proper grid bench, send us a message through our contact form. We can talk you through set-up or recommend what fits your bay.
Disciplined use of the grid keeps the whole bench safer and more productive. It also makes it easy to spot when something is off, before a job gets too far.