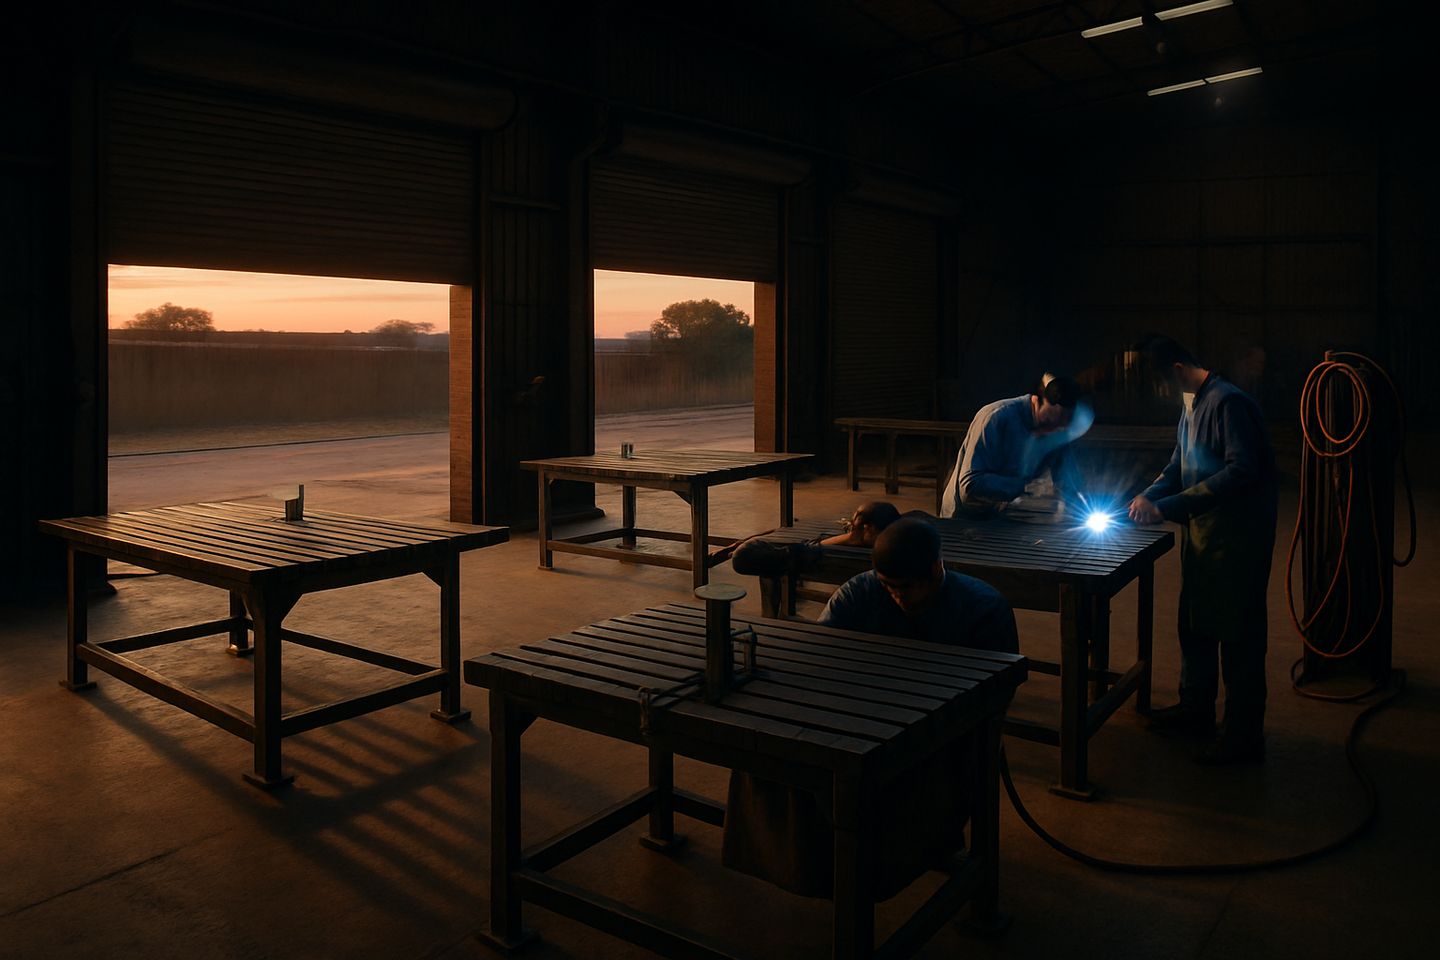
Shopfloor note
Fillet gauge routines
Fillet gauges turn weld size from guesswork into a checked habit. On a busy shopfloor, they help keep your bays on spec and prevent rework down the line.
Why fillet gauge routines matter on our shopfloor
Every fabricator knows how easy it is to overlook weld size when things get busy or the power flicks off. The real risk is ending up with under- or oversize welds on gates, trailers, or structural frames, problems that only show up when a part fails fit-up or the inspector flags it. Correct fillet size goes beyond passing a drawing check but making sure the work holds up in service.
Relying on guesswork or a ‘looks about right’ check leaves room for costly rework, especially when different teams move between bays. That’s why we use a fillet gauge routine as part of our daily practice at FabMaster Workshop. It closes the gap between weld prep and site handover, so no one has to wonder if the work will come back with a snag list.
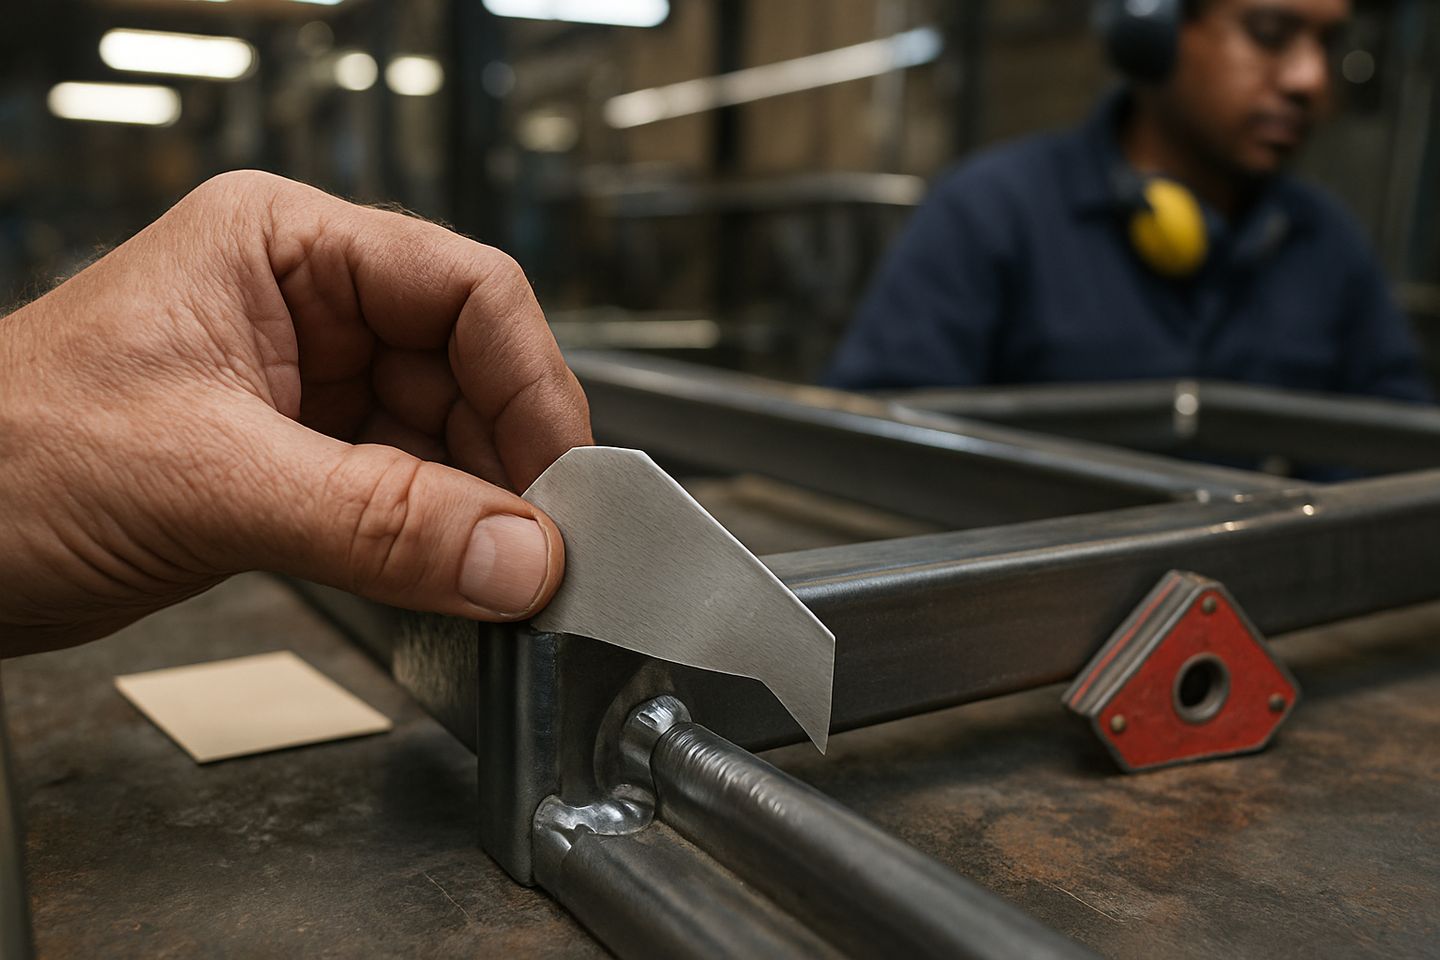
A step-by-step fillet gauge routine for your bay
We keep it simple and repeatable, so anyone, new apprentice or seasoned welder, can follow the routine every time. The kit lives in our MeasureKit Fab case, with fillet gauges checked for nicks and legible numbers.
Here’s our basic sequence for each fillet weld job, from tacking to final check:
- Check the drawing or bay card for weld size and leg length.
- After setting up, use the fillet gauge to check the fit-up gap and prep angle.
- Once tacked, check again, root gap and fit can change after clamping or as parts cool.
- After welding, measure the finished weld with the gauge. Look at both legs and the throat.
- Record the check on the shift log card if you’re running a formal process or on training bays.
Common mistakes and quick ways to catch them
The most common slip is grabbing the wrong gauge for the job size, especially when plates of different thicknesses run in the same bay. Always match the gauge to the required weld leg, don’t trust your eye from across the bench.
Another one to watch is skipping the check after grinding or cleaning up a weld. It’s easy to remove too much and end up with a weld that’s now undersize. Weld spatter or heavy paint can also fool a gauge reading. Make sure the gauge sits flat and touches both legs. If the numbers are hard to read, swap out the gauge or clean it properly before it ends up back in the case.
Bringing gauges into toolbox talks and when to call us
Fillet gauge routines work best when everyone in the bay gets the method, so it pays to run a quick demo in your morning toolbox talk. Let each team member check a weld and see how easy it is to miss leg length or throat if you just eyeball it. That way, you pick up small errors before they become site problems.
If you’re setting up a new bay or want to upskill your team, ask us for a MeasureKit Fab demo or training floor visit. We run hands-on sessions to break the habit of guessing weld size. If you have a weld that just won't pass a gauge, send us a message through our contact form and we’ll help you troubleshoot on the floor.